
|
|

We Ship Worldwide! 

Secure Shopping Cart by Excellent eBay feedback! 
|
Write-up: Installing an Aftermarket Head UnitI hope this will be a valuable resource to anyone who wants to install an aftermarket head unit into their car. Let me preface by saying I know ABSOLUTELY NOTHING about car stereo and the install was very easy. Instructions are written for a 2001 Prelude, with a Pioneer HU. Please note that this is head unit install only - nothing dealing with amps or speakers. Materials you will need:-Wiring Harness - Go to any stereo install place and ask them for a wiring harness. You will need to tell them the make and model of your vehicle - expect to pay $10-15.-Mounting Kit (if needed) - This consists of a plastic frame with a small pocket underneath. Depending on your dash and aftermarket stereo, you may not need this. -Electrical Tape -Scissors -Flathead screwdriver -A rag (old t-shirt works fine) -Phillips head screwdriver (magnetic if possible) -Wire crimper/stripper -Crimp caps -Beer and a friend (optional) First of all, remove the faceplate from your aftermarket HU and put it somewhere safe. You don't want to scratch it accidentally. Remove the negative (black) connecter on your car battery. You will now need to pry out the plastic trim surrounding the climate control and stock stereo. I used the flathead screwdriver wrapped in a bit of cloth (t-shirt). You'll need to insert the screwdriver about 1/2" into the crack in order to pop the holding clips. When you are finished you will see this: 
Unscrew the four screws holding the stock stereo in (circled). Two on both sides. 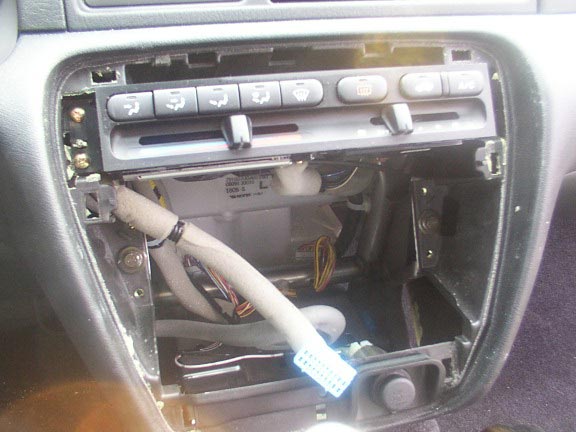
The stock stereo is screwed to the pocket and the connected pieces screw into a frame. 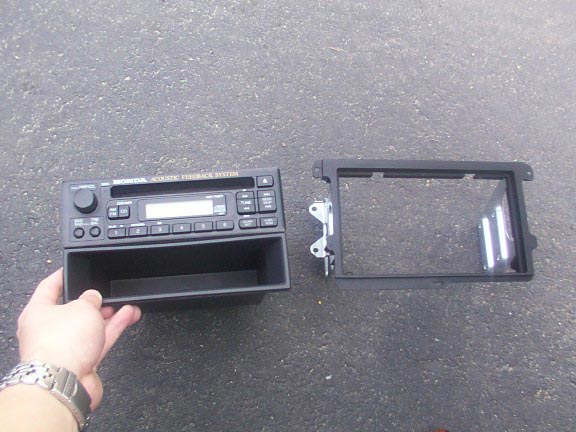
I was able to re-use this OEM frame for the Pioneer HU. The OEM pocket fits underneath but since it no longer is connected to the HU, it must be secured with double-sided tape or some means. 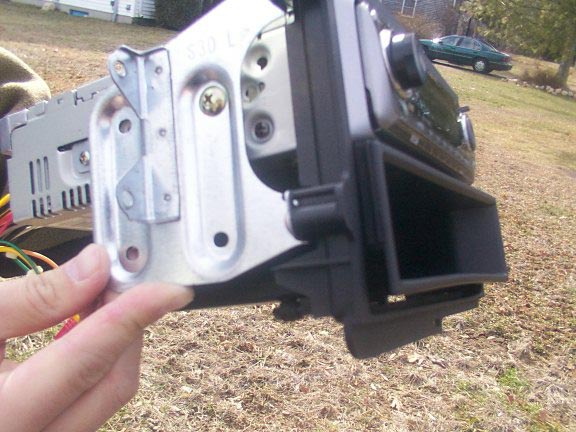
Here is the aftermarket wiring (top) and the wiring harness (bottom). 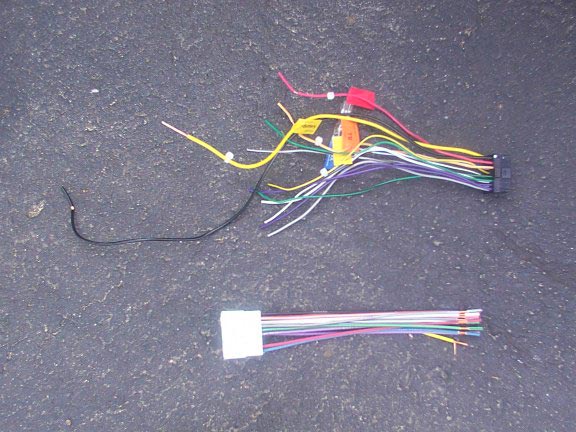
You now need to splice those colored wires together. The colors should match up (black to black, violet/black with violet/black, etc). There should be a chart that comes with the wiring harness. If you have never spliced wires before, it is very simple. Strip the plastic from each wire. Twist the exposed fibers of each wire INDIVIDUALLY and then twist the two wires together. Wrap the twist in electrical tape. You can crimp them later (see below). 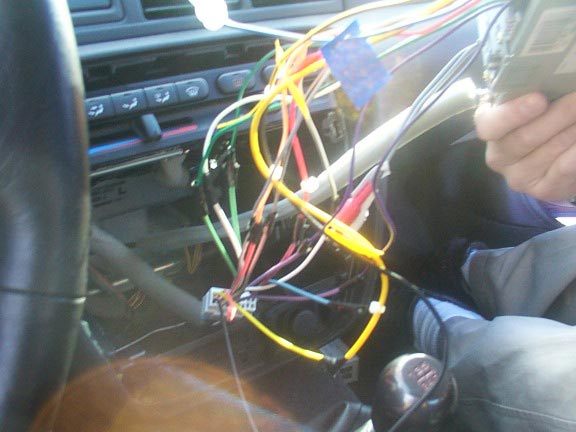
It is a good idea to test these connections (and the HU) before you go any further. Connect all the wires together, reconnect the battery, and start the car. Test the head unit and its functions. Using the electrical tape allows you to easily re-splice a wire if something is wrong. 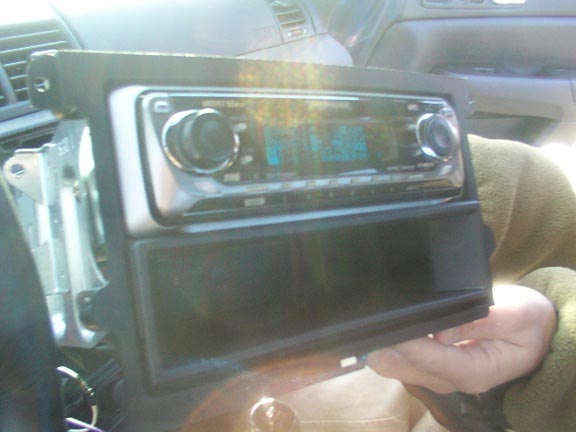
The tape can be left in place, but a more permanent solution is to crimp the two wires (insert twist into crimp cap, crimp with tool). 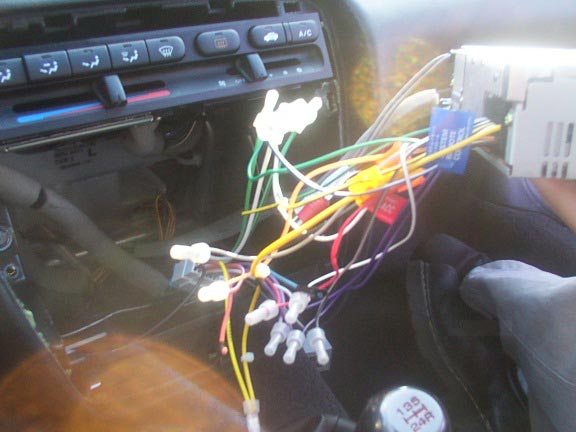
Now just replace the stereo assembly and screw it back into place. 
Replace the plastic trim and you're done! 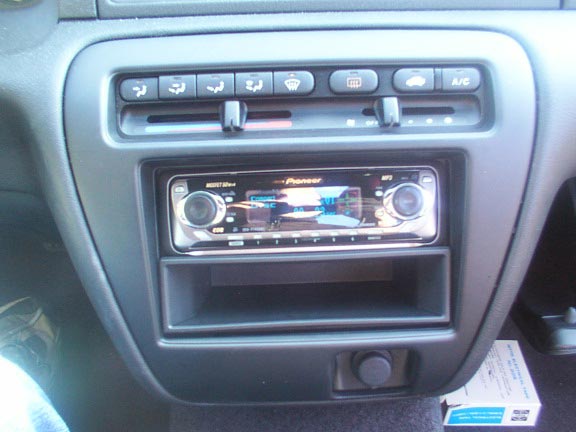
Thank you for your help and advice: Les Chao, Eric Lai, nmehta211, ywwong, Dragen, po0p. |
Store 
Engine 
Exhaust 
Exterior 
Interior 
Misc. 
Suspension 
Wheels |
|
About Terms Privacy Contact
Copyright © 2007-2025 - eXtremePrelude.com - All Rights Reserved. |