


We Ship Worldwide!


Secure
Shopping Cart by

Excellent eBay feedback!


|
How to: Install a Euro R Intake Manifold
I figured since I don't see a DIY for the H22 Euro R intake manifold that I'll go ahead and do one. This DIY will also give those of you who are unsure an idea how things will look like and what will be needed and what not to make this installation a breeze. I bought this whole Euro R IM kit from Roskoracing.com. It comes with everything you need to make it work.
**NOTE**: This Euro R IM has been modified to be slap onto the H22 head with no problem. An unmodified version from Hmotors or from any other place besides Roskoracing will need to be worked on before it can sit flush against the H22 head.
Tools Needed:
-3/8 ratchet
-Sockets; 10mm, 12mm, 14mm
-10mm and 12mm combination wrench
-3/8 extensions
-Pry bar
-Philips and flat head screwdrivers
-Razor blade or gasket scraper
-16 gauge wires
-Wire cutter and stripper tool
-5/16 or 8mm and at least 4 foot long coolant hoses(x2)
-Allen wrenches
-Hot soapy water
-Coolant
Before you start, make sure the engine is cold and remove the fuel filler cap to release the tank pressure:
I start out by removing the throttle cable and move it out of the way:
Remove your intake assembly out of the way; mine is a short ram intake so it takes me couple seconds to get it out:
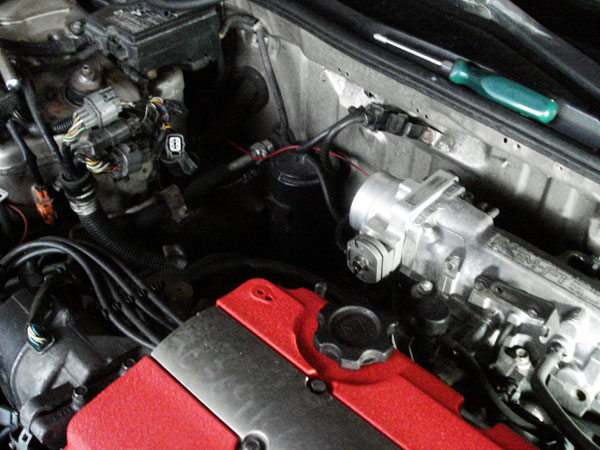
Then, I went and unbolted the IACV. Unbolt the two 12mm bolts:
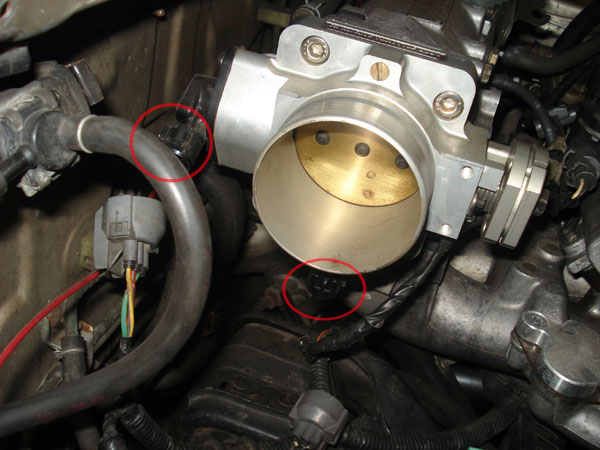
Then I disconnected both the MAP and TP sensors off the TB:
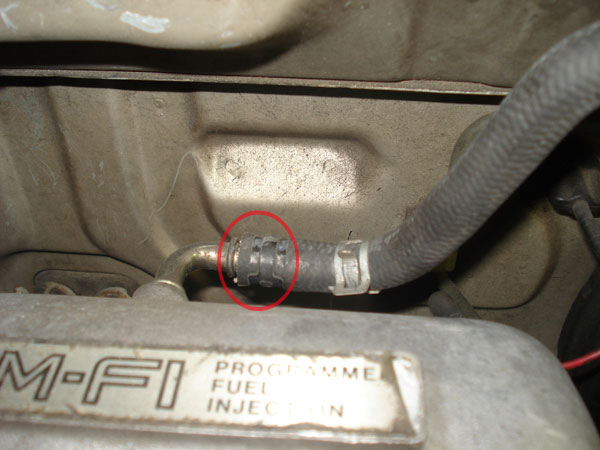
Remove the brake booster hose off the IM:
Once that's done, I went ahead and unbolted the five plenum bolts. It's either 10 or 12mm bolts:
Lift the upper plenum off and out of the way:
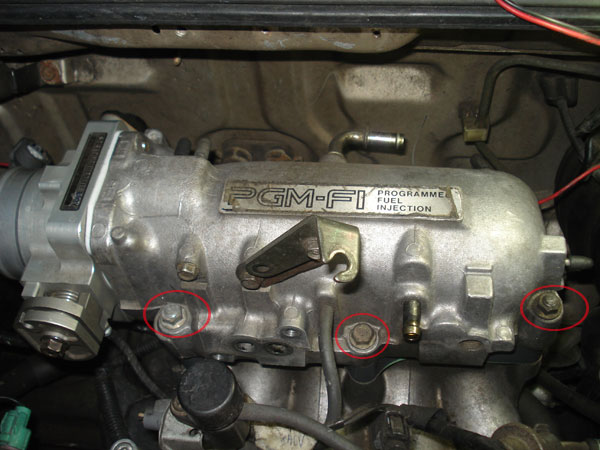
It's time to unbolt the three fuel rail bolts. 10mm:
Once that's done, I lifted the injectors and rail off as one piece:
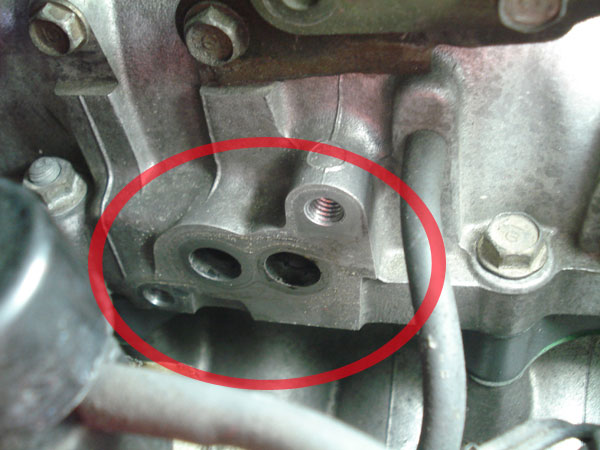
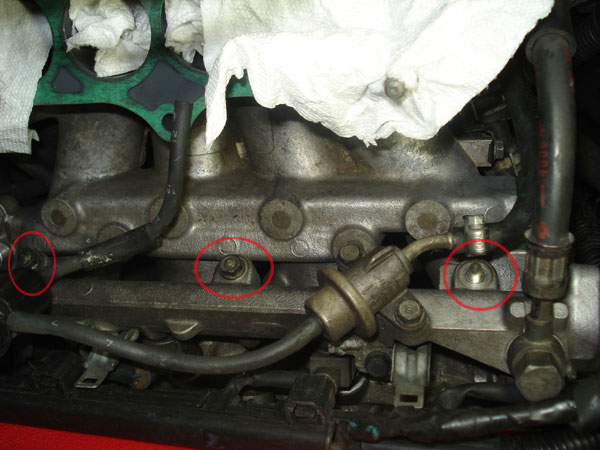
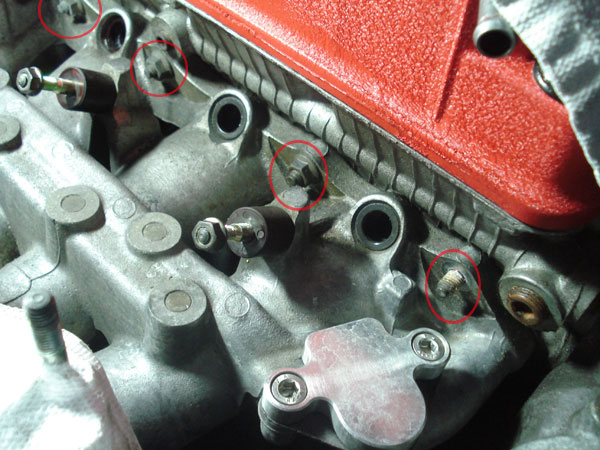
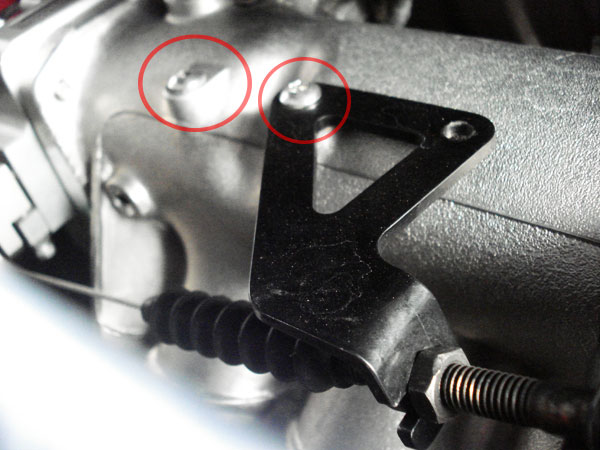
Then it's time to unbolt the IM 12mm bolts. Four up top and six on the bottom and unbolt the 12mm bolt off the IM Support Brace underneath then use the pry bar to lightly pry the IM off:
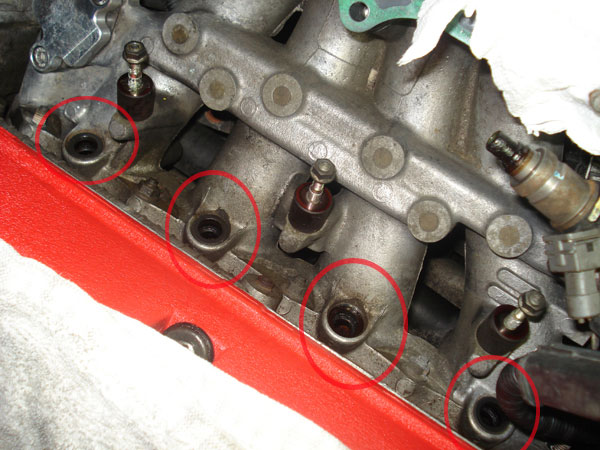
It should look like this once the IM is out, and don't forget to plug up the intake ports:
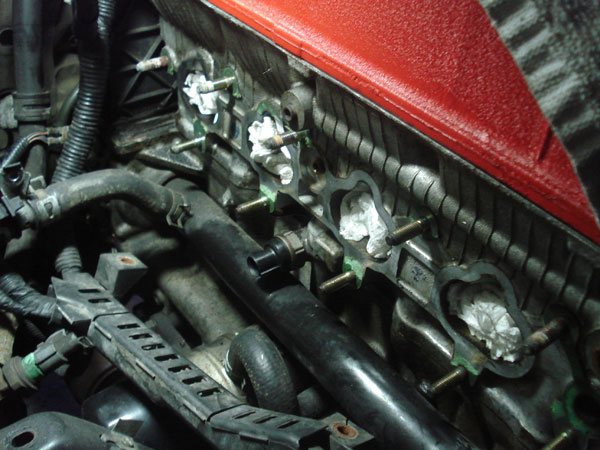
This is where the hot/warm soapy water comes in to soak up the old gasket. Some use gasket remover stuff whichever works for you but I did it my way for free. It takes a lot of time and patience to get all of the old gasket off and this takes the longest:
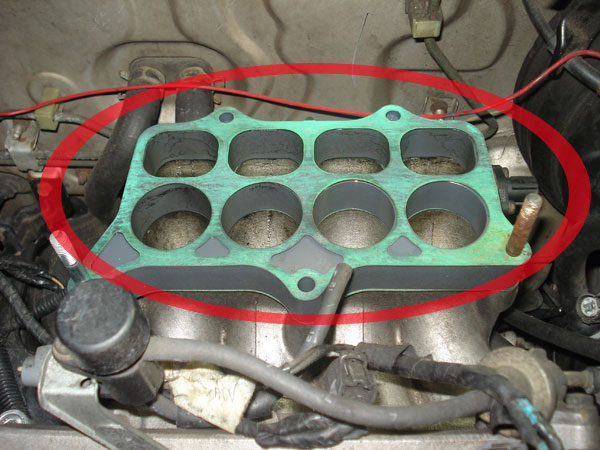
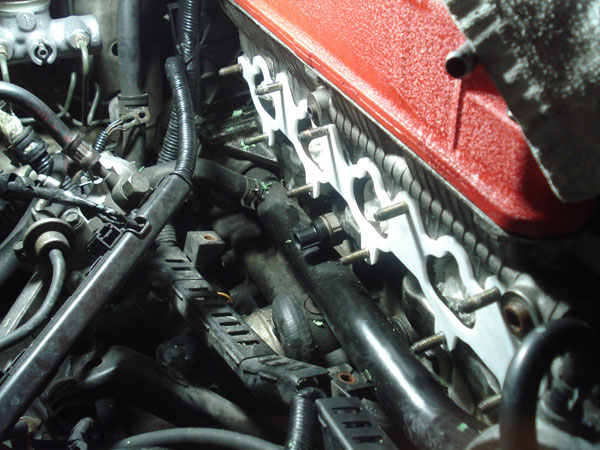
Once the mating surface is clean, install your new intake mani gasket. I used Rosko's Thermal IM gasket that came with the package:
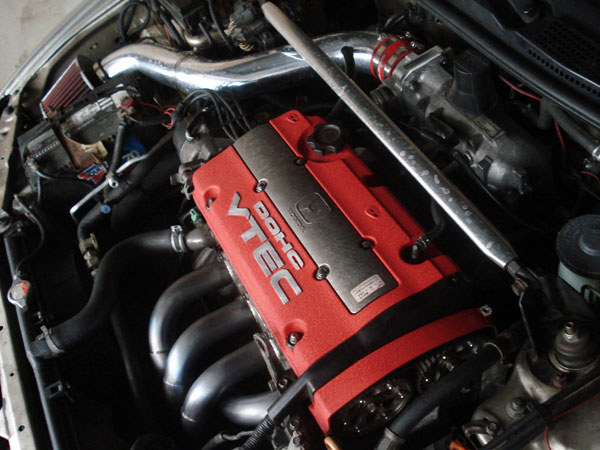
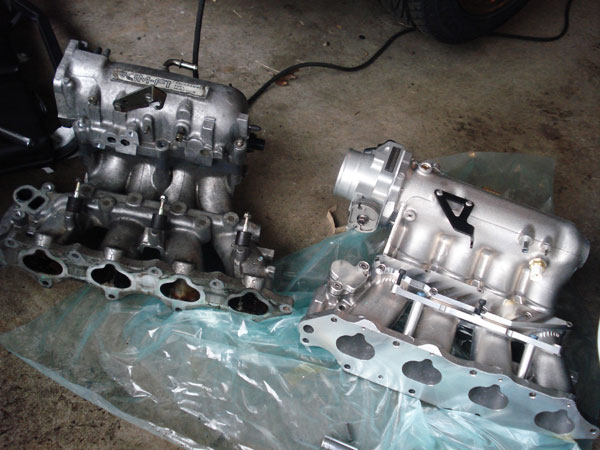
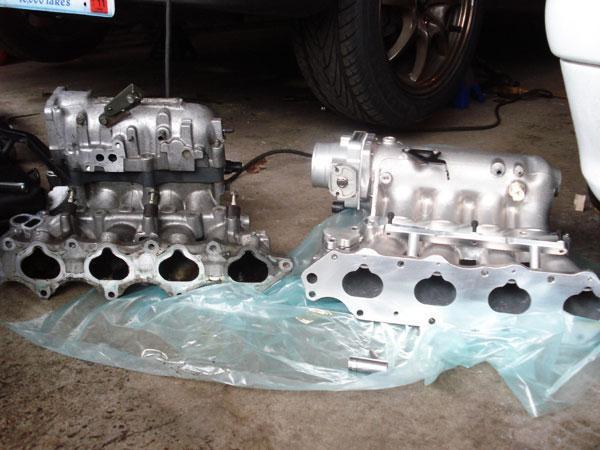
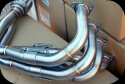
Here is a side by side shot of the Stock VS Euro R IM:
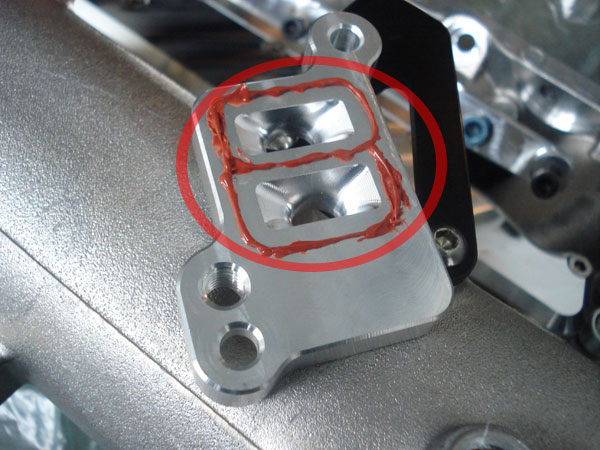
Now, it's time to prep the IACV adapter plate. Here I used the red high temp RTV sealant for gasket between the IM and IACV adapter plate so it doesn't have any vacuum leak:
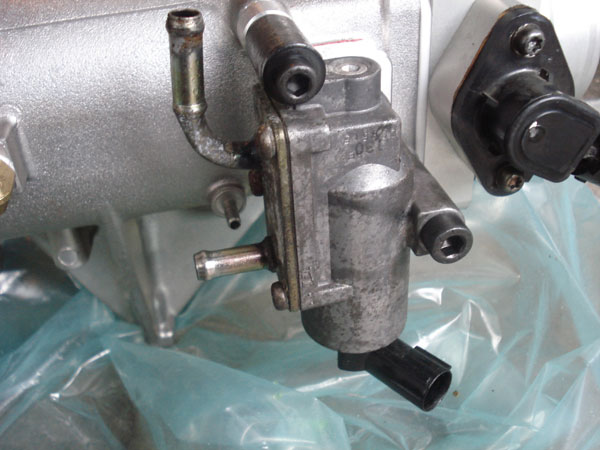
I went ahead and installed the IACV adapter plate and IACV onto the Euro R IM:
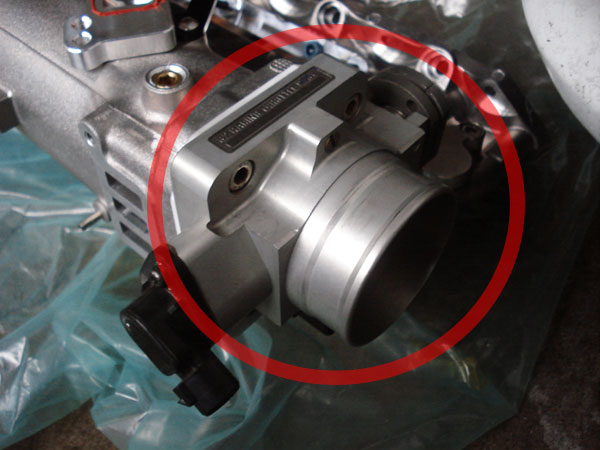
I went ahead and transferred my TB over to the new IM. Now is also the time to clean, lube, and install the injector o-rings onto your new IM:
Be sure to remove the towels you stuck inside the intake ports before you installed the IM. I made the mistake of not doing so, and realized that I didn't after I bolted the new IM on. It sucks! Good thing I caught myself though. Get your IM in and against the head:

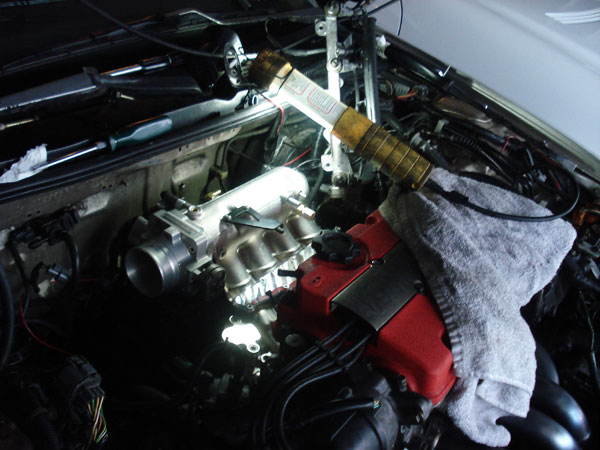
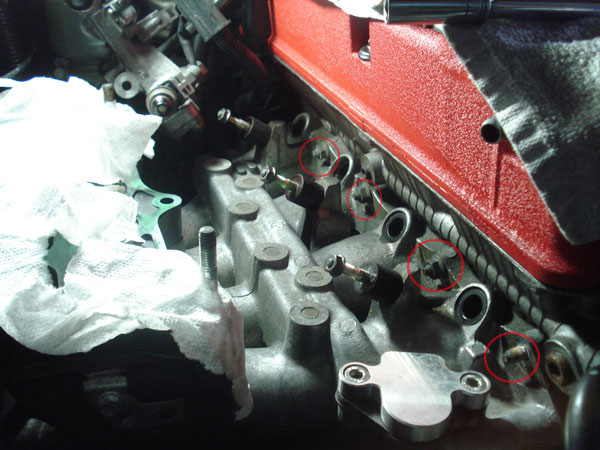
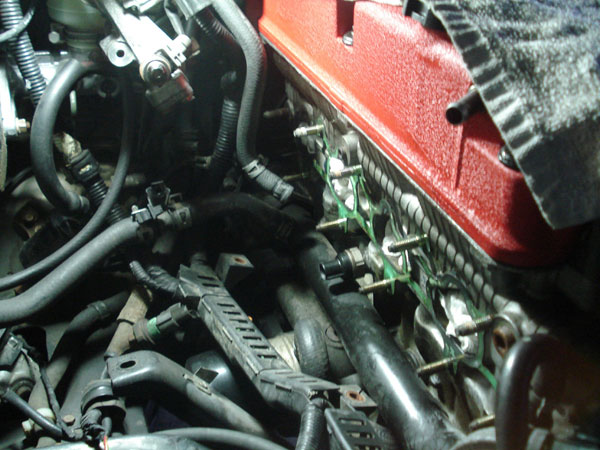
Go ahead and install those 10 12mm bolts. Start from the center out when tightening and once that is all done, you're ready to re-install your injectors and fuel rail assembly but this time you'll need to use the allen wrenches to tighten down the rail cause of Rosko's fancy Allen Screws:
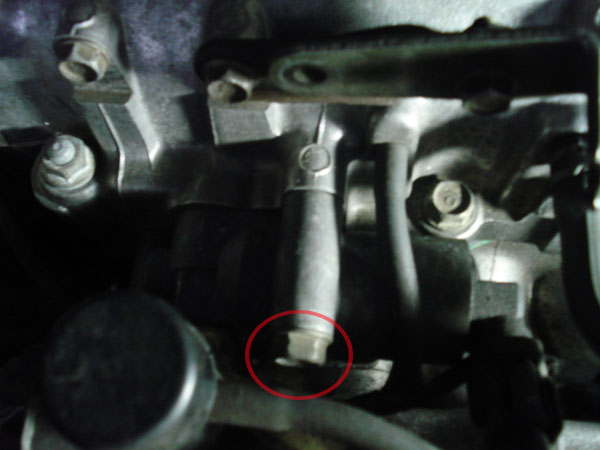
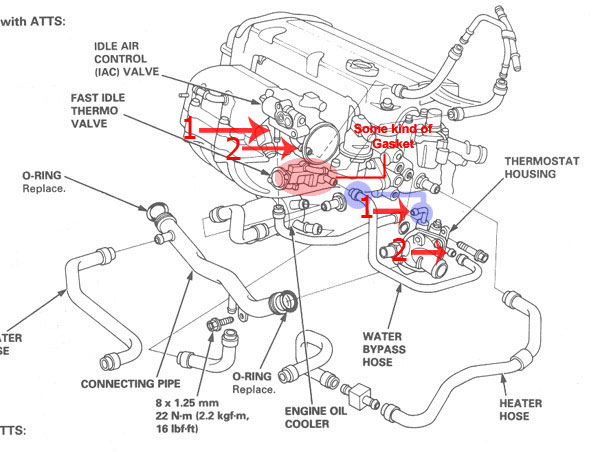
Here, I didn't have an FITV due to the Skunk2 68mm TB I'm using, so I just route the hoses straight to their appropriate spout. Use the two 5/16 coolant hoses and route the hoses from the IACV spout to their appropriate coolant spout on the engine side as shown in the diagram. IACV spout #1 goes to #1 spout on the t-stat housing while #2 of the IACV goes to #2 on the t-stat housing. Just hose them accordingly as shown:
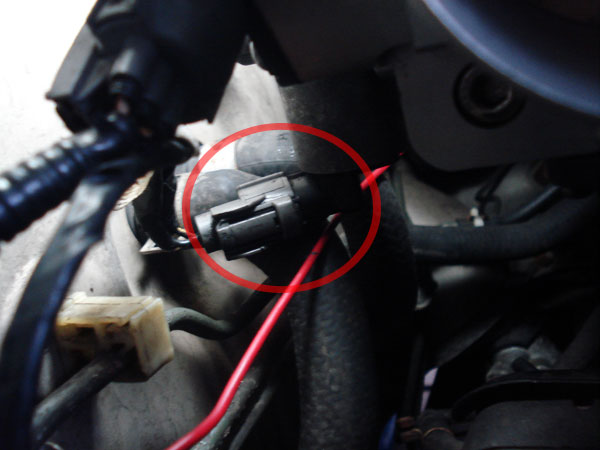
Plug in the IACV connector. I found out that your IACV will be rubbing/touching the heater core spout/hose. I didn't do anything about cause I don't want to be replacing the heater core:
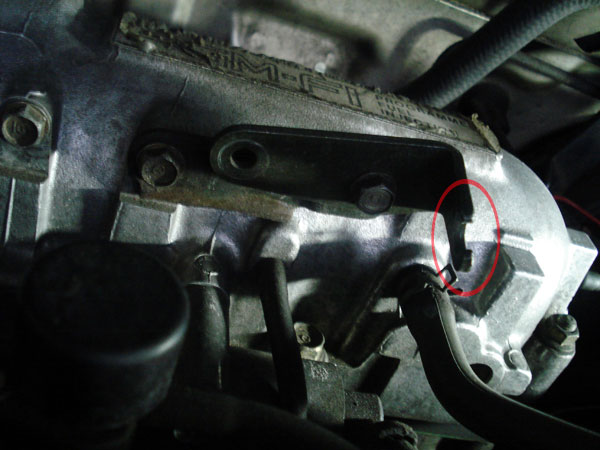
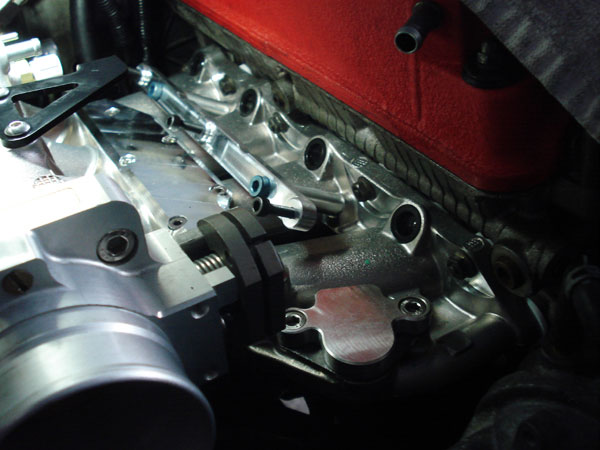
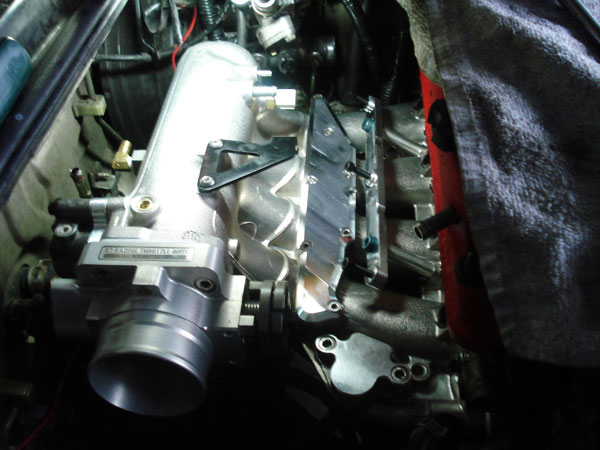
**NOTE**: You won't be able to use your IM Support Brace that's underneath it. Its way too short. What you can do is get two longer bolts and use tons of washers to get it to work or you can fab up your own support brace for the Euro R mani. I talked to Shawn Rosko and he said that he didn't even run that brace underneath it, and so I decided to not run mine as well. Good luck guys/gals!
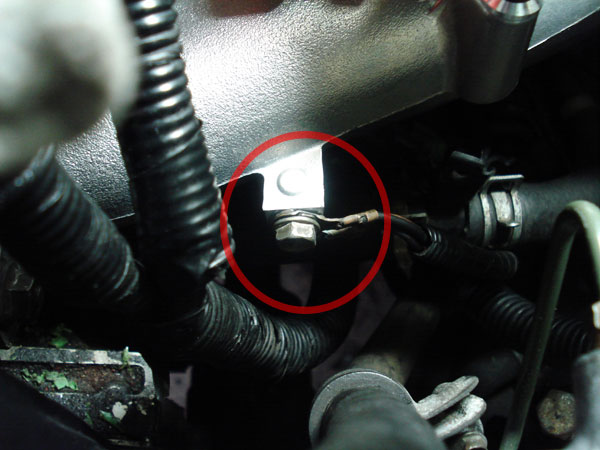
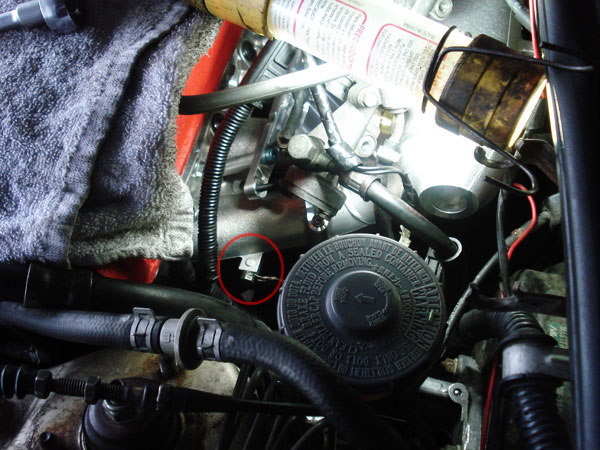
Then tighten down your engine harness ground which would be for the ECU. Make sure it's tight or it won't create spark:
Now onto the throttle cable. If you're still running the 5th Gen Accord throttle cable, it will be tooooo long, and you won't be able to drive the car. This is what I did for temporary til I get my 4th Gen Prelude throttle cable. It'll work to be DD/Cruise, but if you WOT the bracket will move and it'll create lots of free play on your gas pedal:
Once that is done, install your intake assembly, connect the MAP and TP sensors (don't get them mixed up or it'll run like crap). If your IACV and IAT sensor connectors won't reach their sensors, you'll need to extend them. Add and bleed your coolant system since there is air inside the system. You should be ready to roll out! Make sure to do key cycle to charge up your fuel lines and make sure there is no fuel leak before starting up the engine:
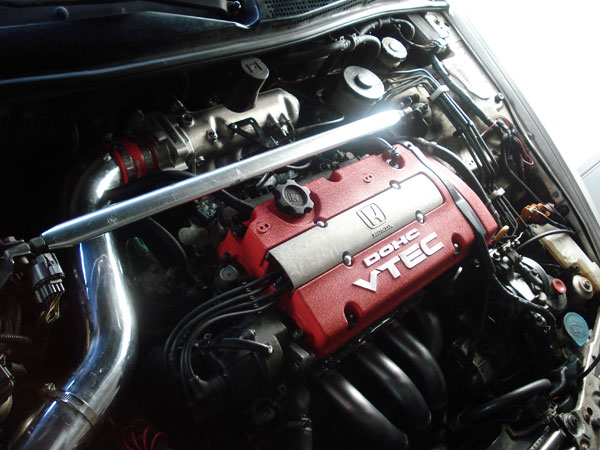
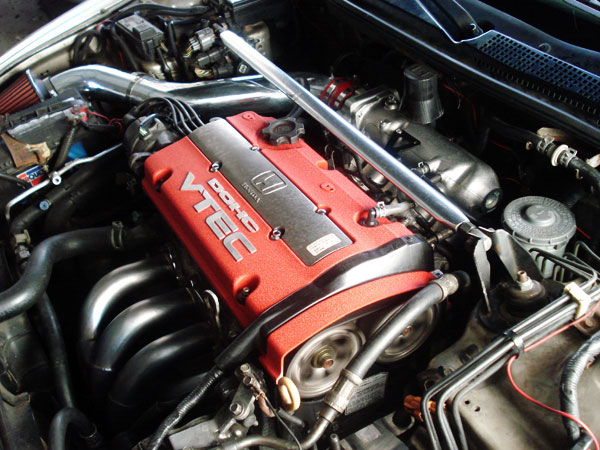
Before:
After:
Enjoy your new Euro R IM!
--- This how to courtesy of Nusdogg ---
|
Store
Engine
Exhaust

Exterior
Interior

Misc.
Suspension

Wheels
|
