


We Ship Worldwide!


Secure
Shopping Cart by

Excellent eBay feedback!


|
How to: Replace Rear Motor Mount
Most of your time will be spent on the right side of the car (U.S. that's the passenger side, everyone else: your driver side) The 4 bolts that are used on the mount are all 17mm.
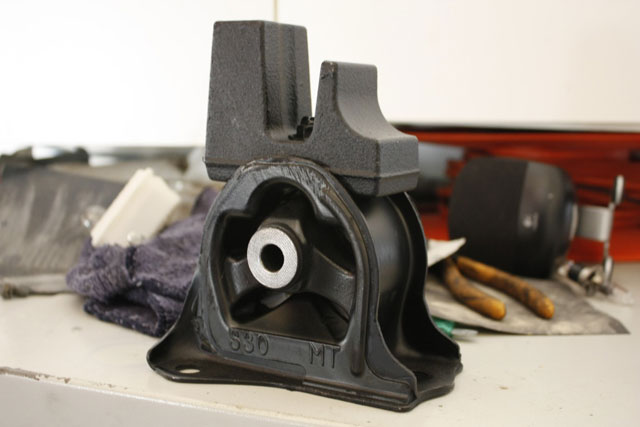
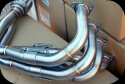
Here is my new mount.
1. Using a hydraulic jack with a piece of wood on it (to prevent damage to your oil pan), support the engine with a slight amount of pressure. Depending on how low your car is, you may need to jack up your car first before you can support the engine.
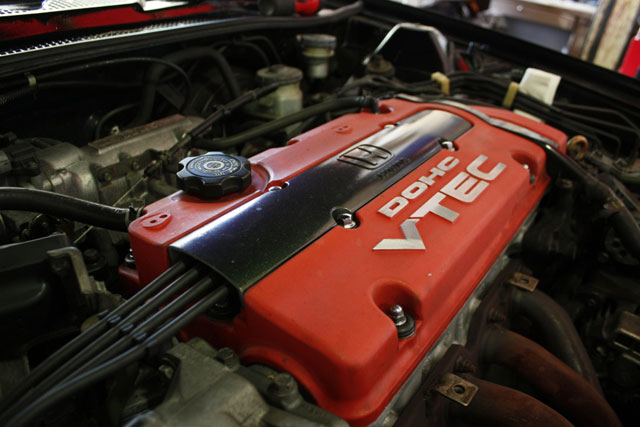
2. Remove your intake piping from the throttle body.
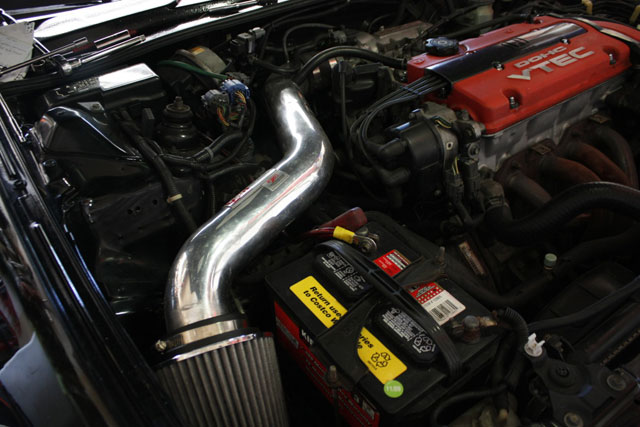
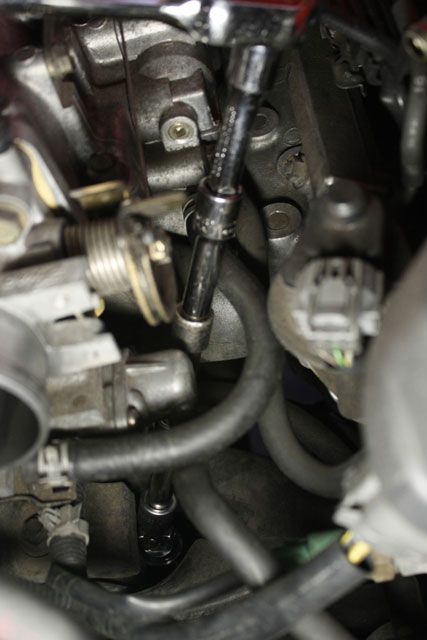
3. From here you should be able to see the rear mount directly below the intake manifold. It is held on by 3 bolts going down to the cross member. Remove the one long bolt going through the mount horizontally.
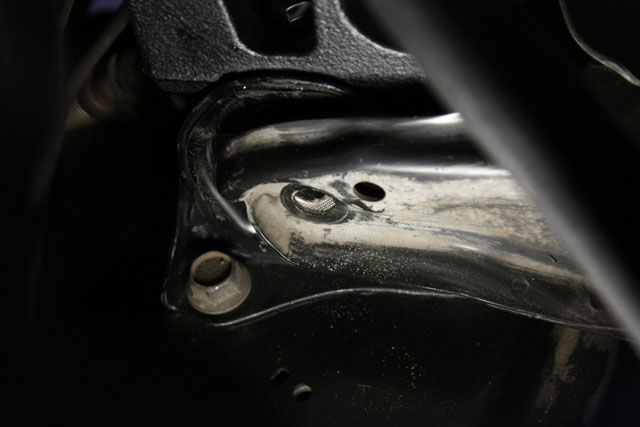
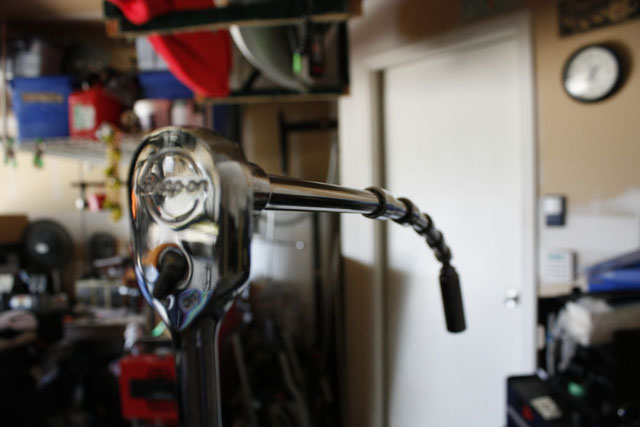
4. Remove the 3 vertical bolts securing the mount. Use extensions and you should be able to get to the 2 rear bolts going straight down. The middle one towards the front gets a little tricky. With the help of numerous extensions (because i have no idea where my 6 inchers went) and a u-joint, it made it much easier.
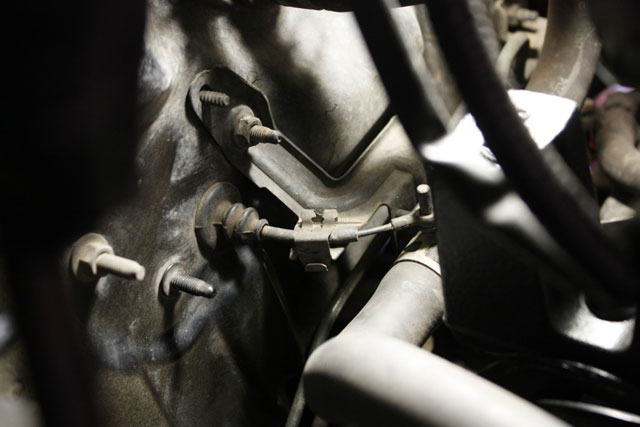
5. Once you have removed the bolts, the mount will be blocked in by the heater hose. Remove the bracket attached to the firewall holding the temp adjusting cable. Slide the clip up holding the temp adjusting cable and remove it from the adjuster. This will allow you to move the hoses and adjuster above the mount.
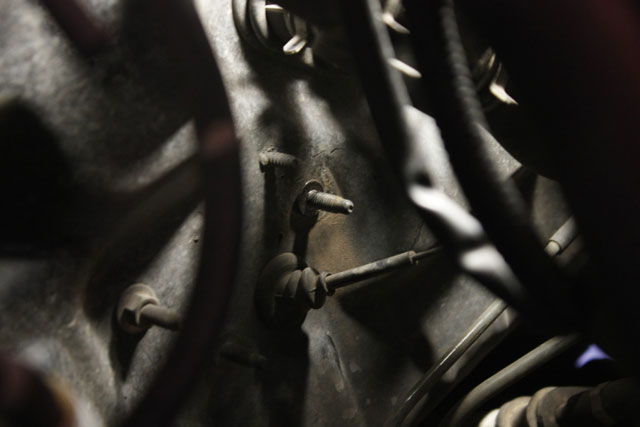
6. Slide the mount towards the firewall to remove. It may require some twisting. Remove the mount from the vehicle.
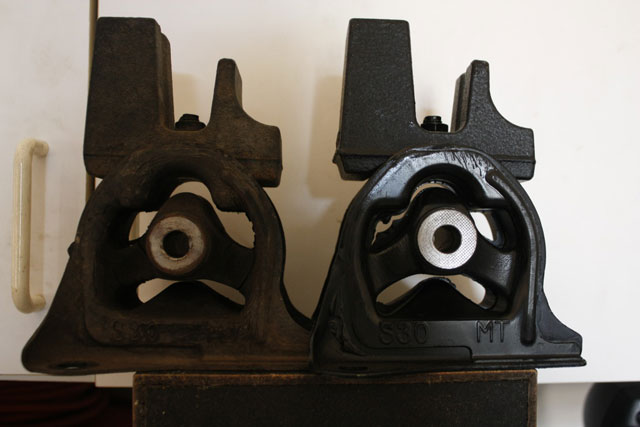
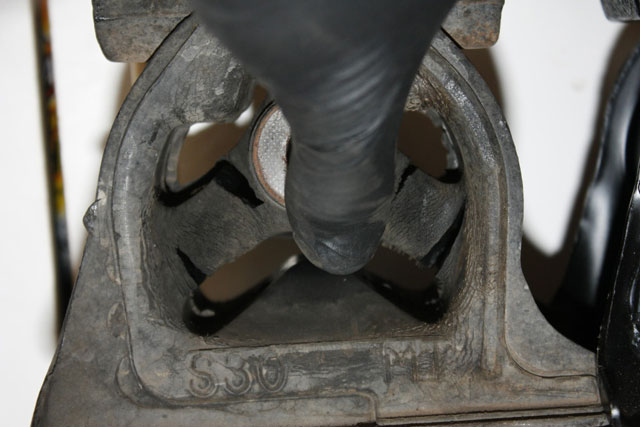
My mount wasn't completely torn, but enough to bother me.
7. Install the new mount doing the opposite of removal. Line up the 3 bolts and get them threaded in but DO NOT tighten them down yet.
8. More likely than not, your mount will not line up with the bracket the first time. This is why you don't want to tighten the mount yet, this will give you a little bit of wiggle room. The long bolt has a rounded tip that will allow you poke around a bit and get it started. Once you have gotten it through, tighten it to 47 ft×lbs.
9. Now you can tighten down the rear mount to the cross member to 69 ft×lbs.
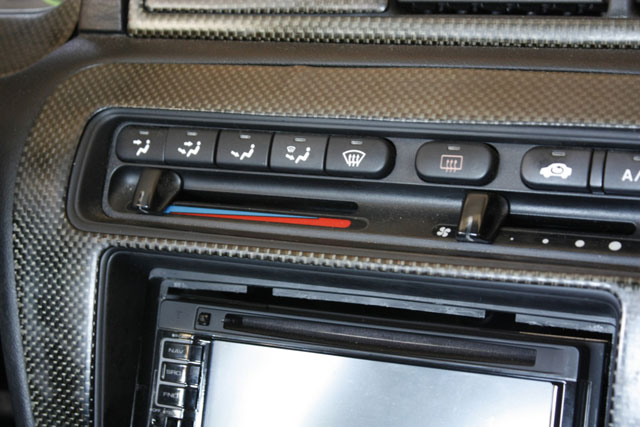
10. Check inside your car to be sure the temp slider on your climate control is all the way to cold.
11. Bring the heater hoses back behind the mount and secure the adjusting cable to the adjuster. Secure the bracket to the firewall.
12. Double check that all bolts are tight and re-install your intake.
13. Lower engine with the jack and enjoy your engine that is properly mounted.
--- This how to courtesy of Ben aka "ritzcracker" ---
|
Store

Engine
Exhaust

Exterior

Interior

Misc.

Suspension

Wheels
|
