


We Ship Worldwide!


Secure
Shopping Cart by

Excellent eBay feedback!


|
How to: Install 6.5" Door Component Speakers
How to install 6.5" component speakers into a 5th gen Prelude door panel. Also includes how to run new 16GA speaker wire.
Introduction
For this installation I chose a set of Infinity Reference 6010cs 6.5" component speakers with separate tweeters. You want a 6.5" driver (woofer) with around 2" top mount depth to be sure you don't have clearance issues with the window frame when you mount them in the doors!
These Infinity speakers can handle 90 watts RMS and 270 peak watts! Far greater power handling then the 15 watts that the stock drivers are rated at and 3-watt stock tweeters! I chose to drive these speakers with a 300-watt, 2-channel Rockford Fosgate power amplifier rated at 60 watts RMS per channel, which was perfect for these speakers at 4ohms.
This write-up is shows a lot of pictures to help you visualize stuff that you might have wondered about with this type of install. It is not intended to be a full guide to completing this custom job. As with any custom job, there will always be little issues and hold ups that you must be prepared to deal with. Don't start a job like this if you need the car the next day, it sucks not having door panels and not being able to open the windows. I hope this picture write-up is of help on your component speaker projects!
- JL
Step #1: Removing the Door panels
Not a lot of pictures of this step, just read and you'll figure it out, it's not as hard as you might think.
Roll both windows all the way down first because once you remove the panels and harnesses you can't roll them down and they are in the way when it comes time to remove the panels!
Remove the black plug at the front, top of the door panel on the inside, use a small flathead screwdriver. Remove the 2 screw covers (one is behind the door handle on the inside, one is inside the door grip; the thing you grab to close the door from the inside). Remove both screws. Remove the covers that are on the inside, opposite the mirrors, pry lightly and you'll get them off.
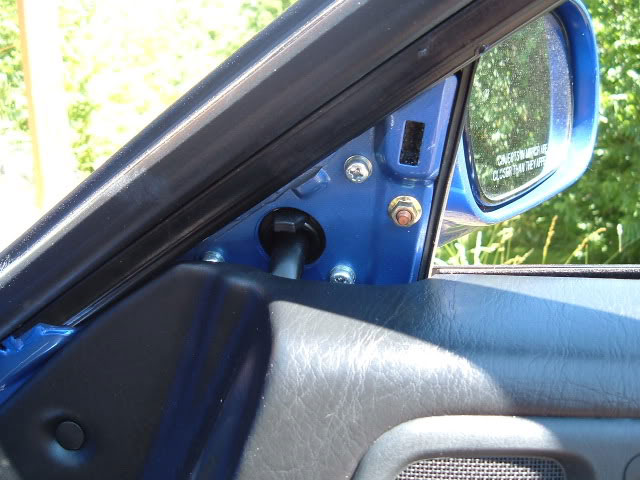
Remove the speaker grills ("Let me see your Grill!") and remove the 3 screws that hold the speaker, unplug the harness and remove the speaker. Remove the 3 screws that hold the speaker enclosure to the door, get down and look in the opening and you'll see them.
Carefully begin popping the clips that hold the door panel to the door, start at the bottom and work up It's helpful to lay on your back on blanket or pad so you can really see what needs to free up to remove the door. Once the clips are free, pry up lightly on the door handle frame that holds the stock tweeter until it pops out. Then you will see a little white clip that holds the door handle to the metal rod, you must carefully work this clip loose and spin it out of the way to remove the door handle rod from the handle.
Next you need to work the door panel off the door. You have to pull up, rotate the driver side slightly clockwise as you pull back on it to free it (rotate counterclockwise for the passenger side).
Step #2: Mounting the 6.5" component drivers.
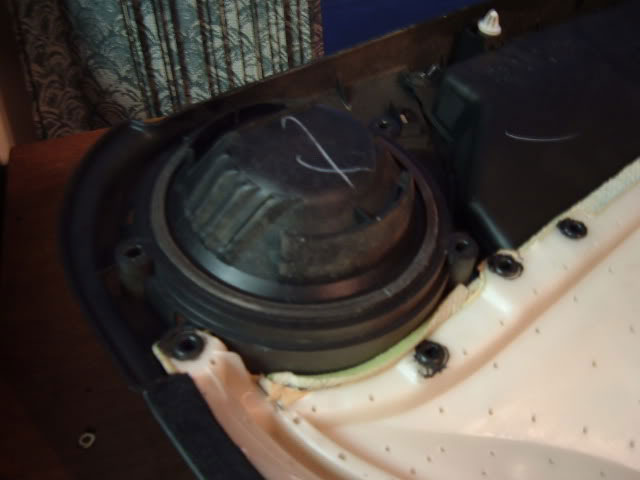
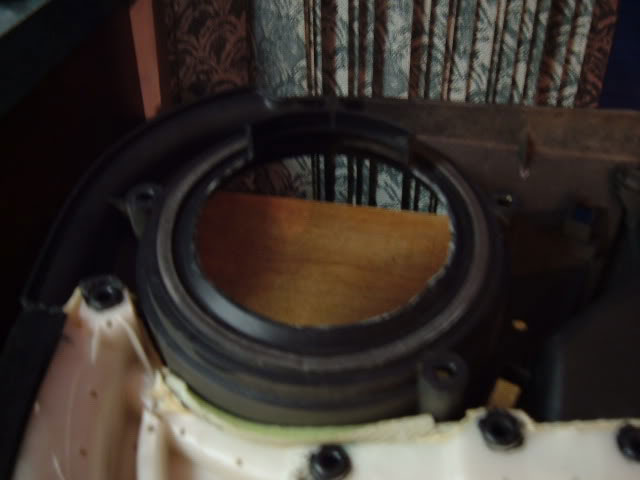
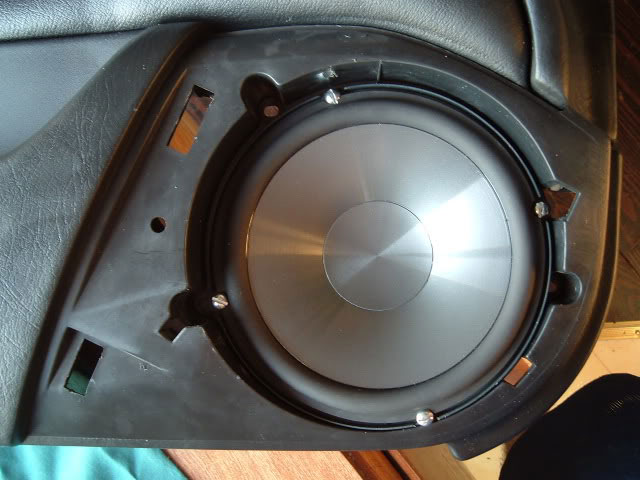
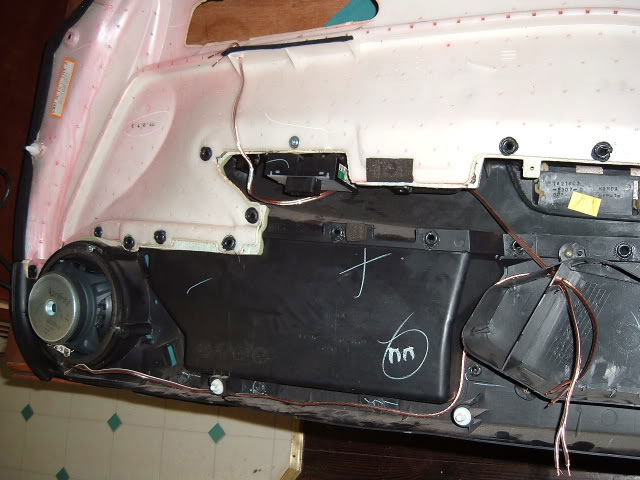
Here is the basket on the back side of the door panel that holds the stock speaker. You have to cut most of it off to fit a 6.5" high power speaker. I used a pair of sharp-nosed wire cutters to trim the basket away.
Mounting the speakers may take some creativity. The Infinity speakers had 4 mount holes so I drilled new holes through the stock plastic mounting ring and used bolts with washers and nuts as you see here:
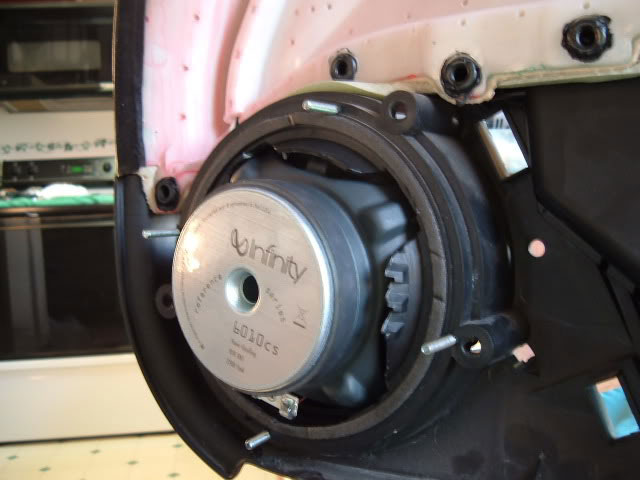
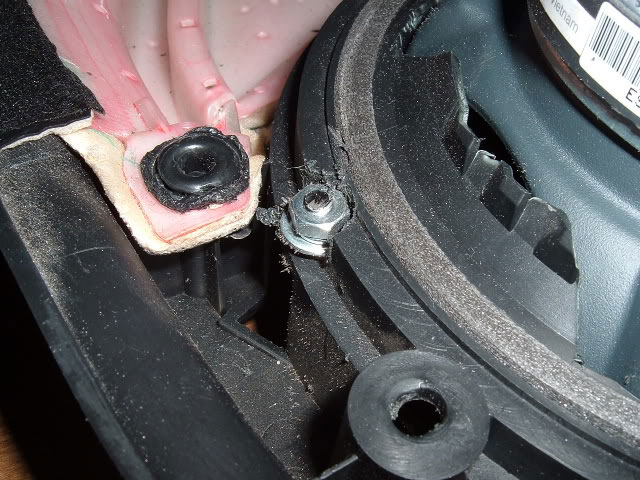
And the front side:
You will have to cut off excess bolts and recess the nuts into the plastic ring so that they don't hit the door metal when you put the panels back on the car! A dremel tool with drill bits and grinding bits is VERY helpful for this.
Step #3: Mounting the Tweeters!
I used the stock mounting bracket, just flipped it around so the tweeter faces the driver and I used some JB weld to hold it to the bracket (even though it's magnet was almost enough to hold it there alone. It's permanent for the car so I didn't worry about JB weld being tough to remove later.
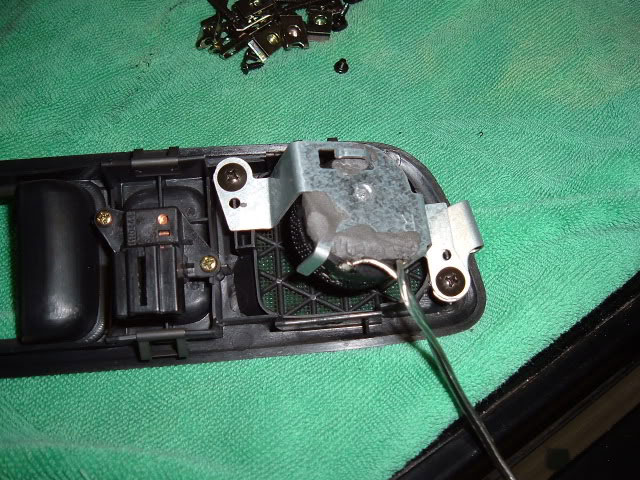
Perfect!
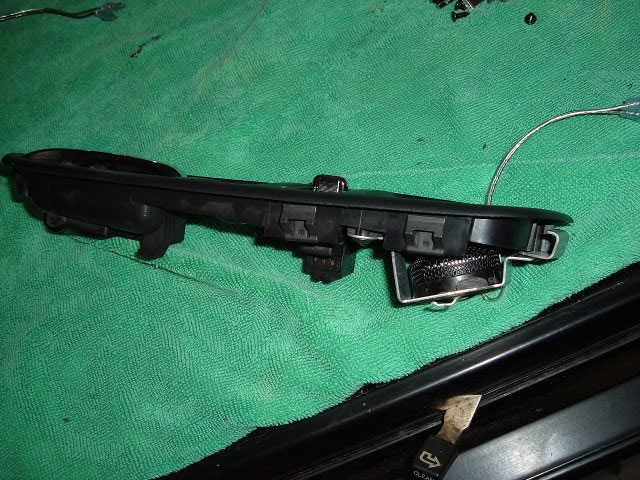
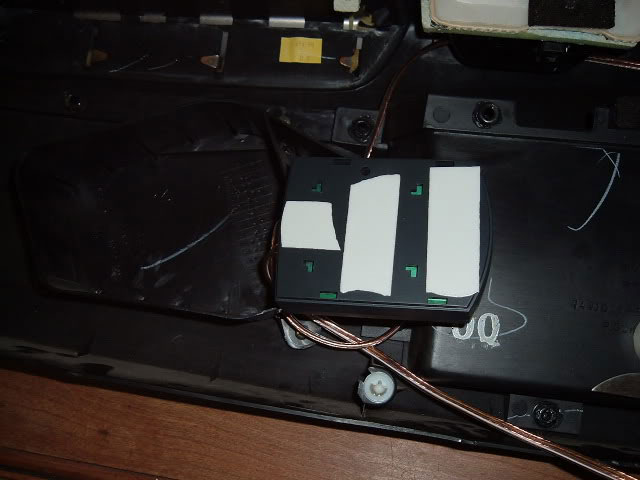
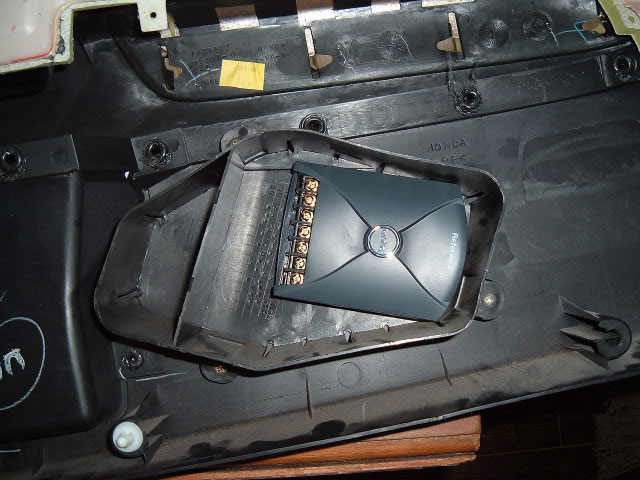
Step #4: Mounting your Crossovers!
There is a perfect crossover mounting location already! See pictures.
I used double sided high strength tape to secure my crossovers to the inside of the door panel.
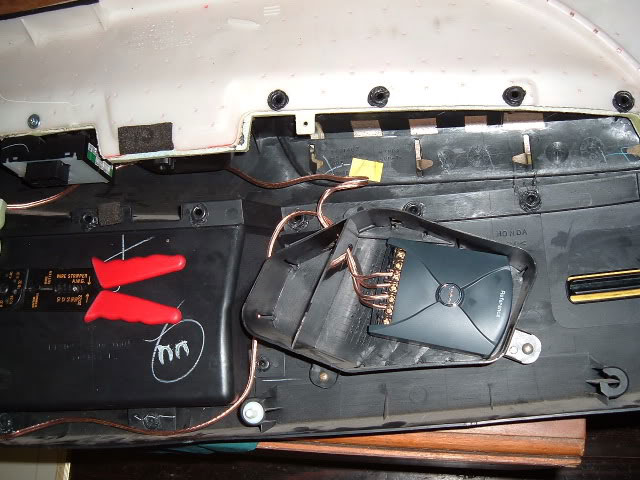
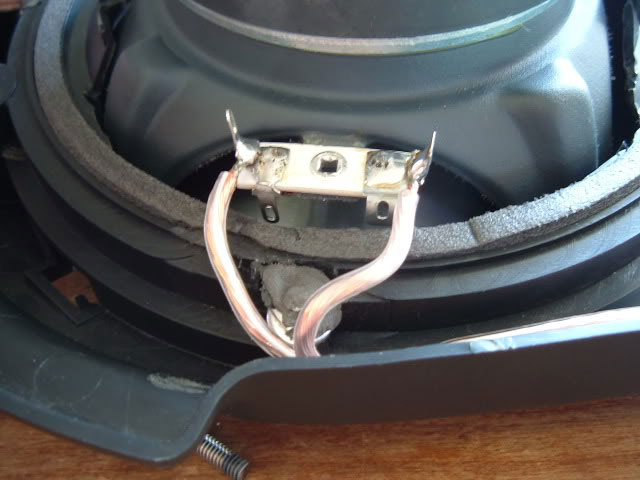
Step #5: Connecting speaker wire from crossover to tweeter and woofer.
I soldered my connections and then covered them with rubber "hotglue" to keep them from shorting out later.
Step #6: Running new Speaker Wire! (This is not necessary but if you are using a power amplifier to drive the new components it's a good idea since the stock wire is tiny and the Honda acoustic feedback system causes issues. If you use the stock wiring you can just splice two wires, one to each side of the stock door-speaker-woofer-harness in the door and run that directly to your new crossover input)
Remove the glove box and kick panels on both driver and passenger sides.
Begin looking for the wires the run from the car to the doors.
I had to cut some rubber insulation to access the driver side rubber grommet from the inside but I found it finally. The passenger side is easy to find once you remove the glove box.
Fish 2 stranded 16ga speaker wire through from the inside of the car. It's helpful to first pop the wire loom grommet out of place from (its just below the upper door hinges. There is black tape on it that you must remove and separate the two pieces.)
Use a wire coat hanger, taped solidly to your wire to fish it through the grommet from the inside.
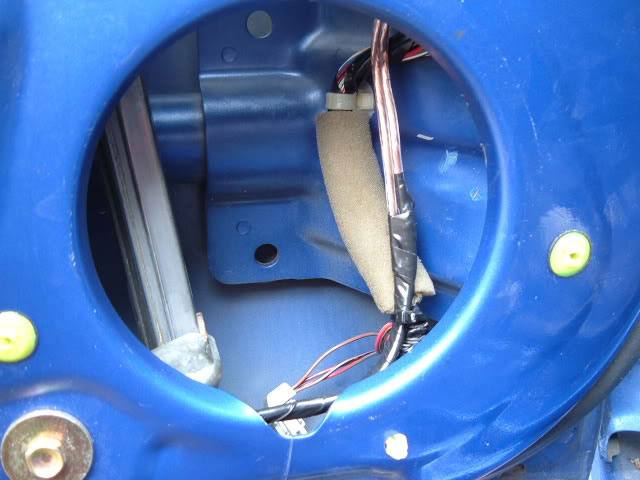
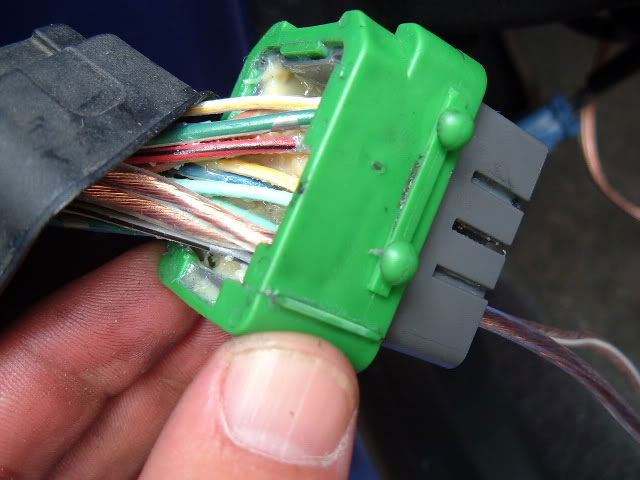
Also, separate the green harness on the hinge side from the door harness and use a screw driver to pop the door side harness loose and pull it out through the speaker hole.
Coat hanger helps you run the wire through the grommets
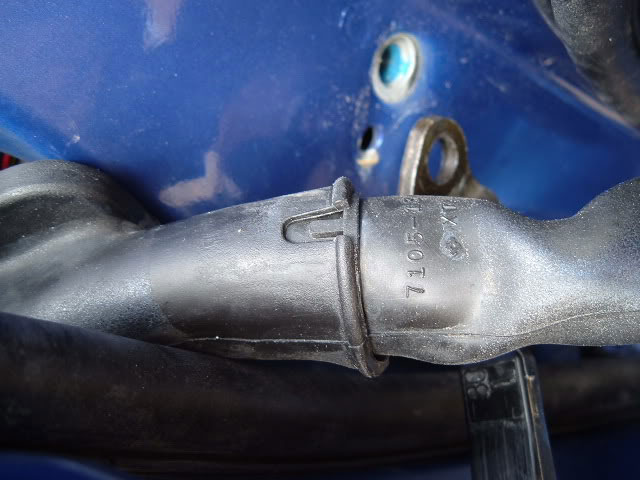
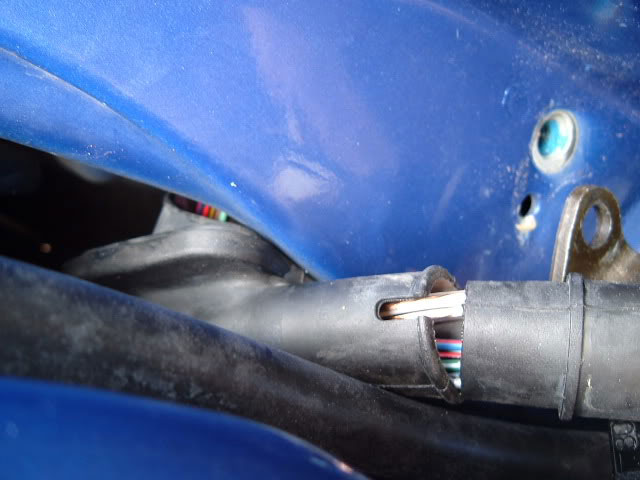
Grommet and loom separated.

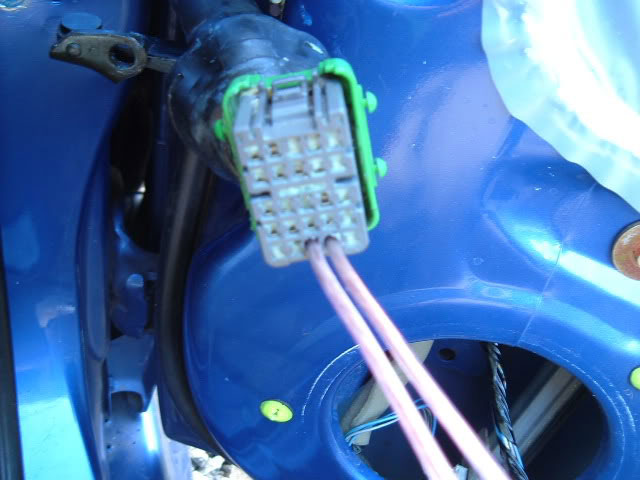
Wire going through into door panel
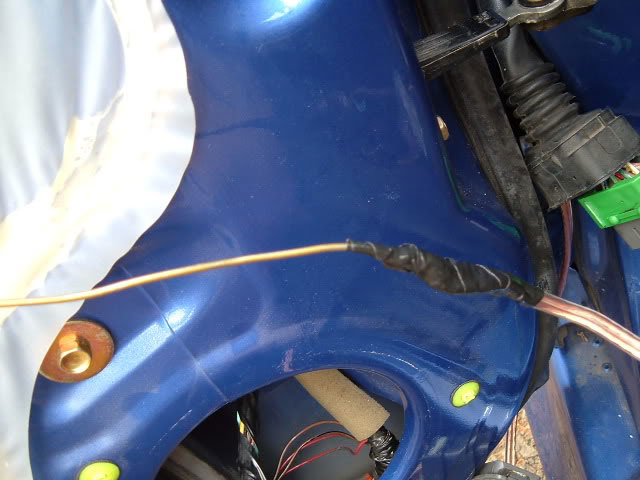
The wire is run through up to the harness, through the rubber loom.
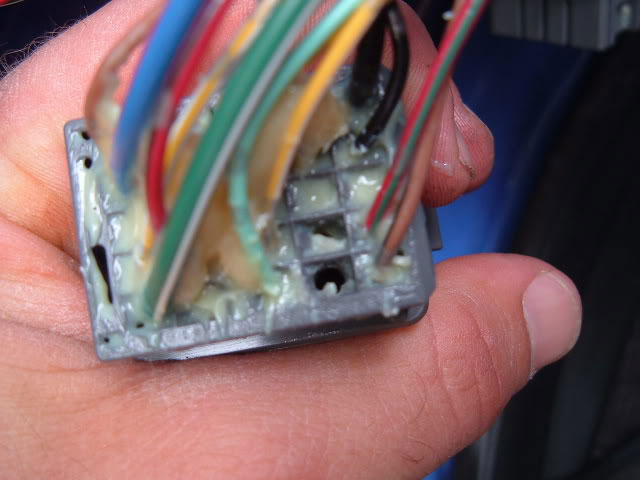
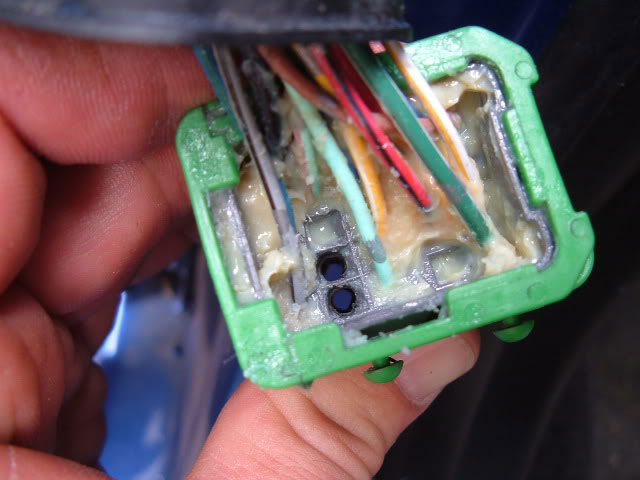
That is how the two harness halves should look once you drill them in blank spots, be very careful doing this and make sure the holes in both halves match up!!!
Make sure the speaker wire is not crossed before you hook the harnesses back up and you must pull the speaker wire through from inside the door as you put the harness back together so it doesn't kink!
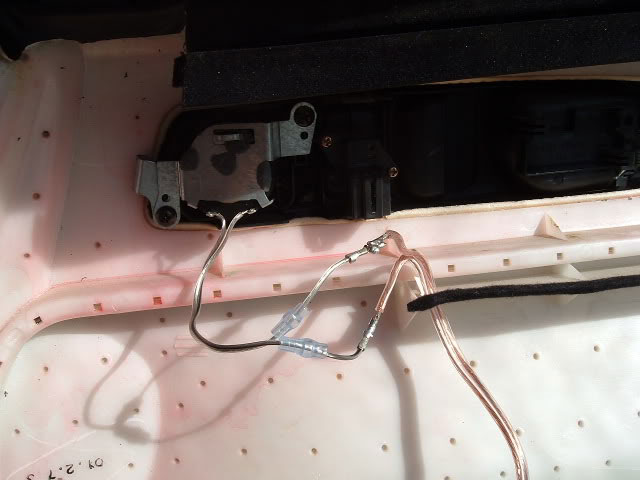
This pic (below) shows how the wire feeds from one harness to the other, of course you have to do this once you put the door harness back in the door first before you can run the wire to that side of the harness and reattach the harnesses!
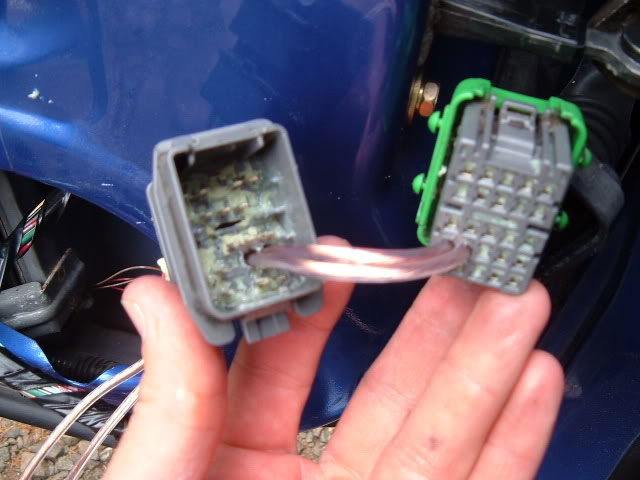
Once the harness is back together with the speaker wire running into the door, tape the loom back together with electrical tape and reinstall the rubber grommet that goes into the car.
Hook up your new speaker wire to the crossover in the correct terminals and reinstall the door panel!

Connect the speaker wire to your amp and your rocking! (Sorry, I am not covering amplifier install with this write-up)
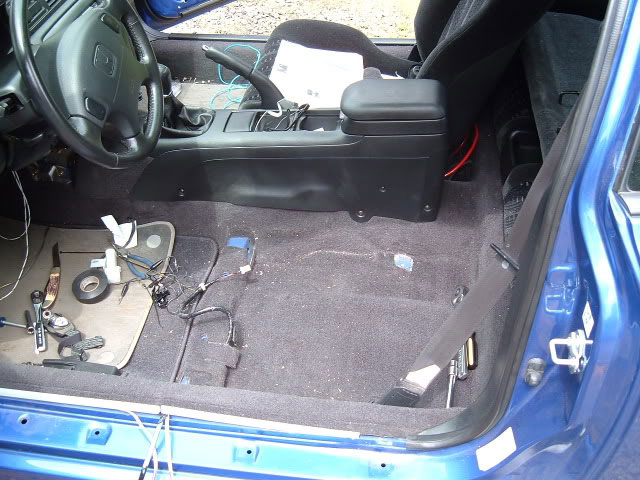
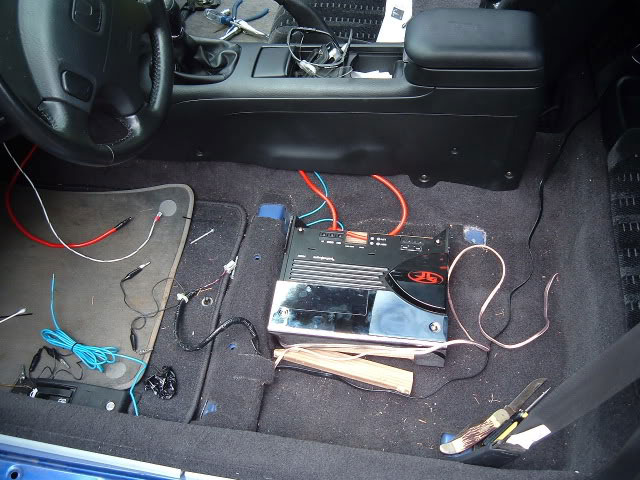
I mounted my amp under the driver seat, it barely fit. I would recommend a small amp if you want it under the seat, otherwise the trunk is the only option.
Happy music listening! =D
--- This how to courtesy of JLUDE ---
|
Store
Engine
Exhaust

Exterior

Interior

Misc.

Suspension

Wheels
|
