


We Ship Worldwide!


Secure
Shopping Cart by

Excellent eBay feedback!


|
How to: Install a Rear Sway Bar
Installed this today...ugh now I'm tired. This wasn't hard btw, just time consuming. Doesn't really need a write-up, but tonight sucks and I'm bored.
As with all installs, neither I nor the TPC (Toronto Prelude Club) assume any responsibility for what is written in this installation. This is merely a description of what I did (or shoulda done) and this is not to be attempted if you're not confident holding a wrench.
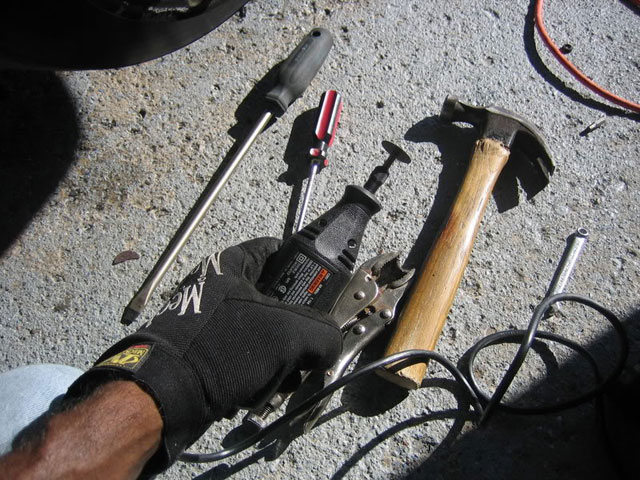
Tools required:
Creeper (issss niiice)
Hydraulic jack and jack stands
80ft. lb. torque wrench
15ft. lb. torque wrench
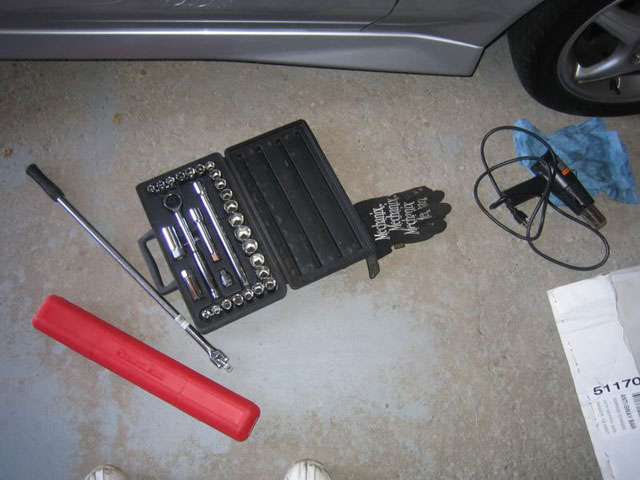
Socket and ratchet set (12 pt. sockets will help you here)
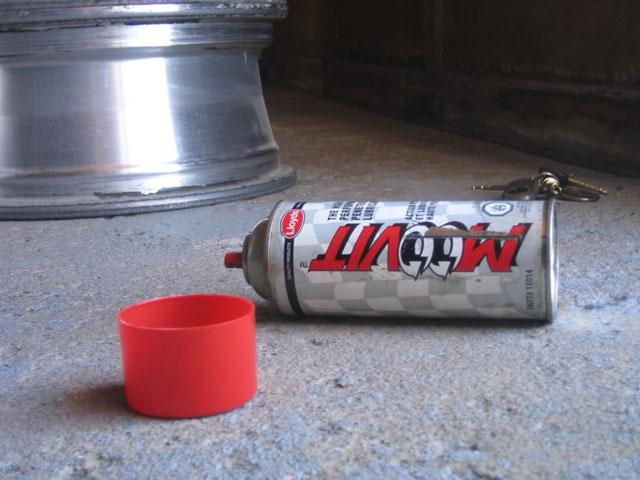
Lubricating spray, (i.e. WD-40)
Dremel and cut-off wheel discs
Hammer
Flat-head screwdrivers (medium #2 and large #3)
Vice grip pliers (or equivalent)
Safety glasses, unless you baaad!
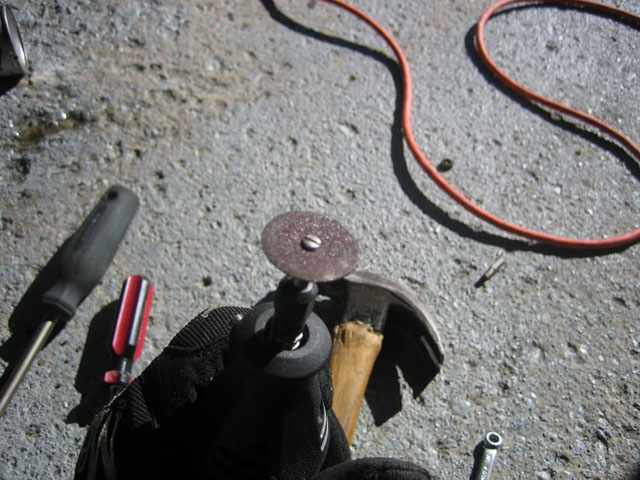
(Ignore the heat-gun)
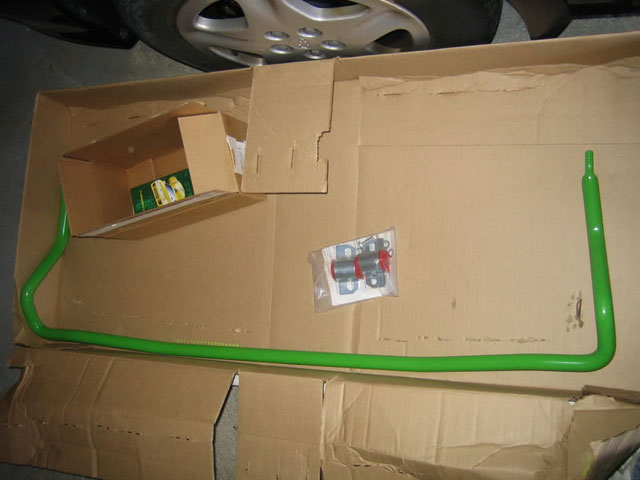
Parts:
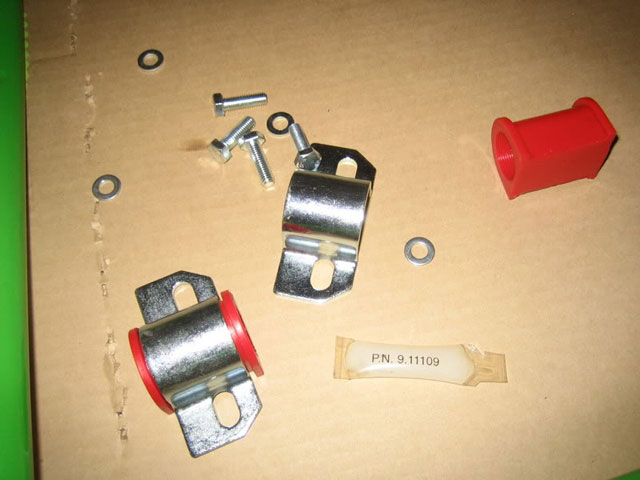
Supplied w/ sway bar:
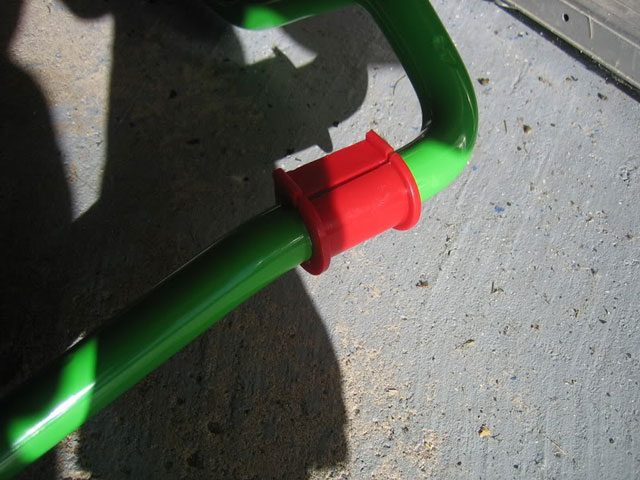
(1) Sway bar
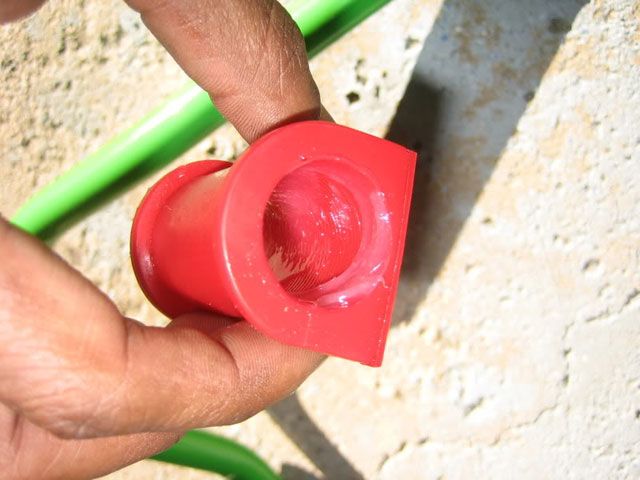
(2) Polyurethane bushings
(2) Brackets for hard mounts
(4) New bolts and washers for hard mounts
(1) Packet of lubricant
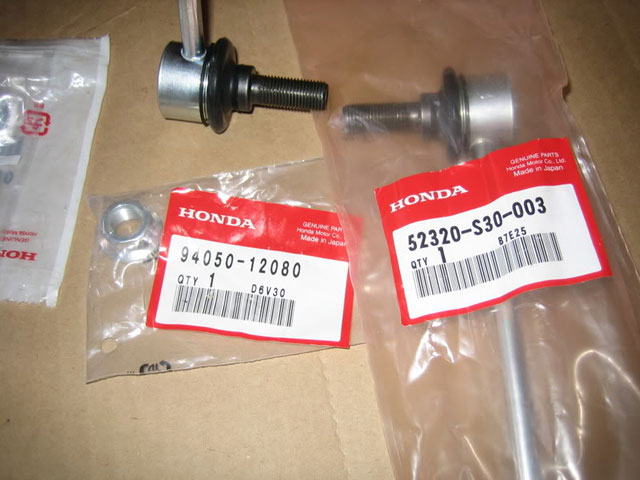
From Honda:
(2) End link assemblies
(4) End link nuts
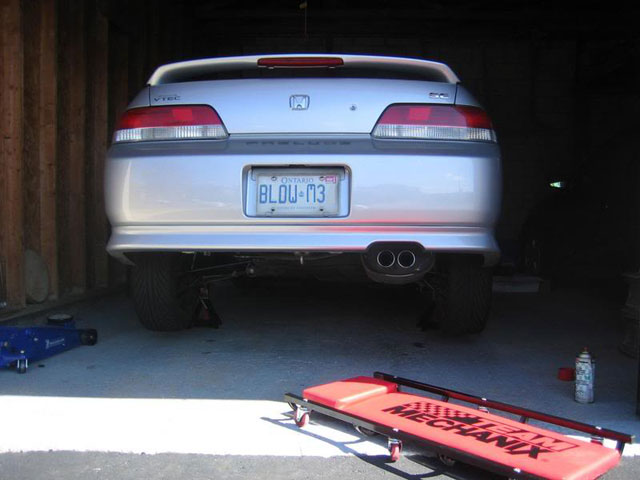
1. Begin by jacking up the rear of the car, and getting both jack stands under the rear jacking points. The higher the better and do not put jack stands under the suspension for this install.
2. I'd been spraying "Moovit", a penetrating lubricant on the joints for a few days prior to this install, and it did screw all (read on). Moovit is akin to WD-40, just better (in my opinion).
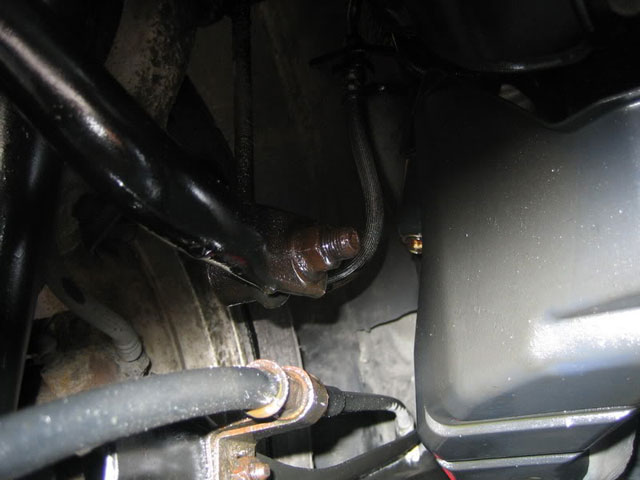
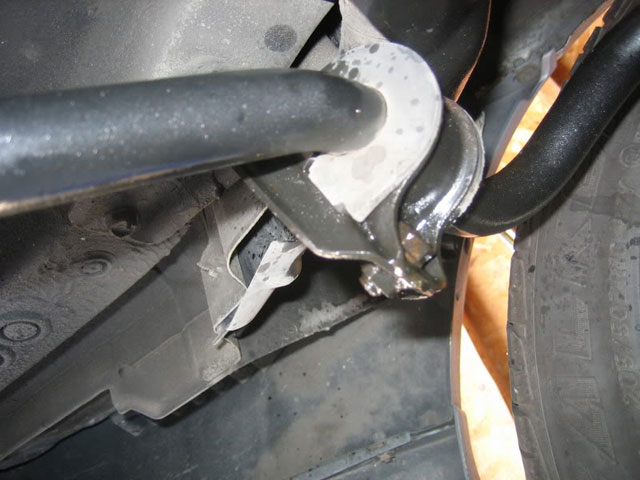
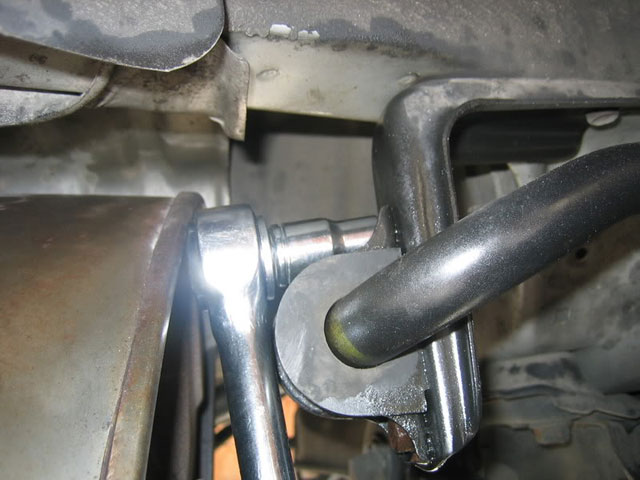
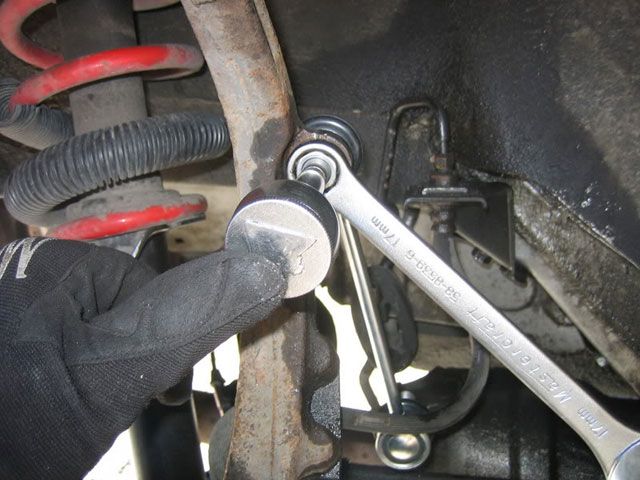
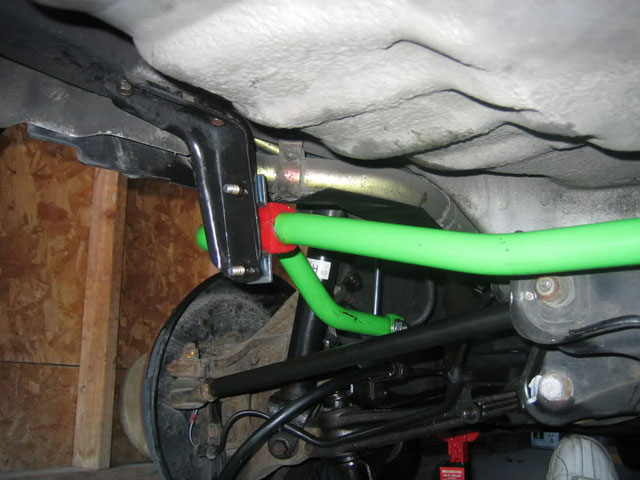
Driver's end link:
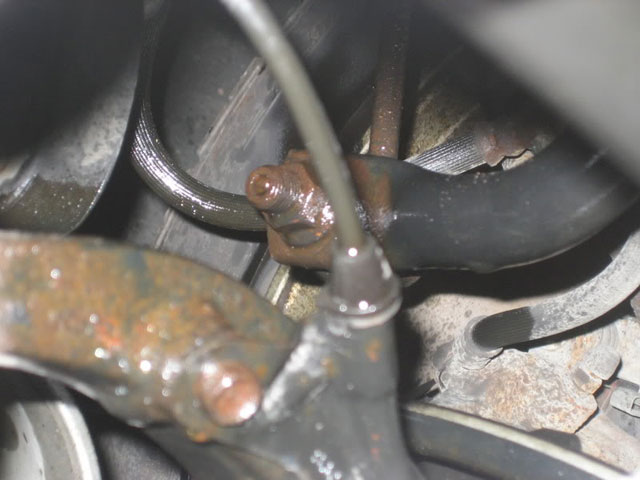
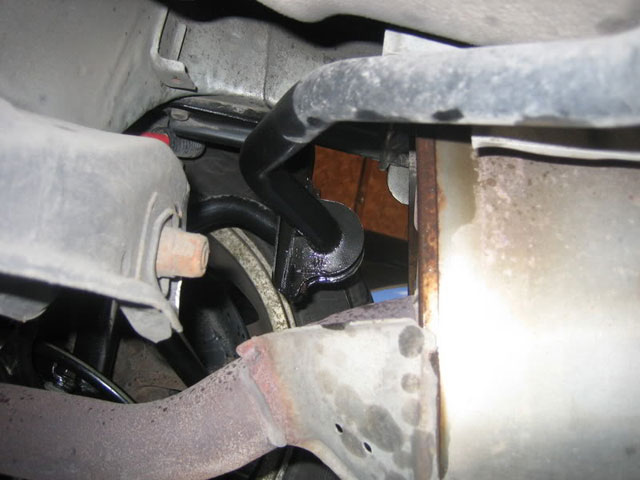
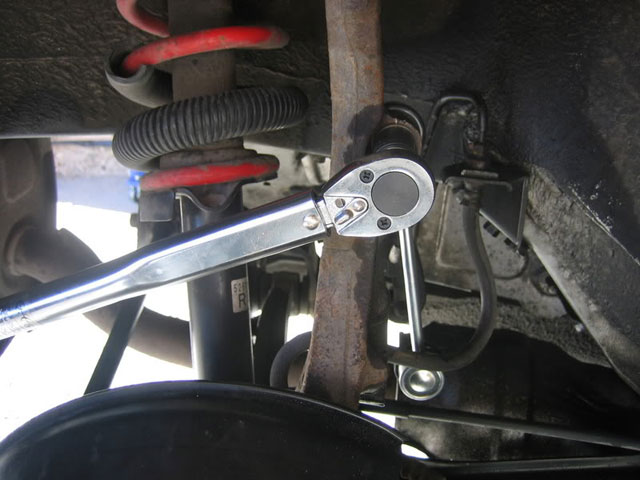
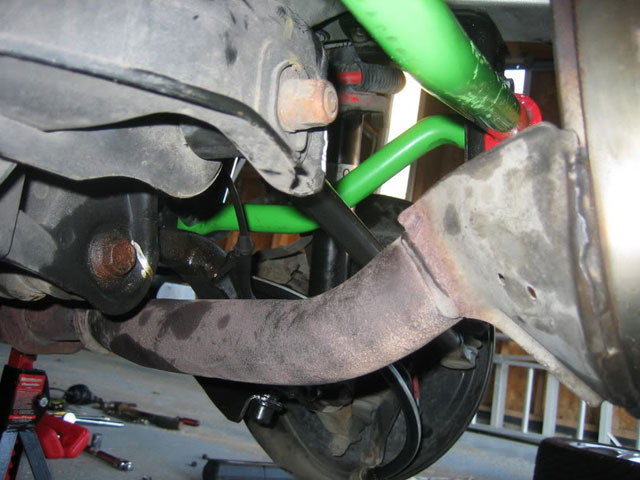
Passenger's end link:
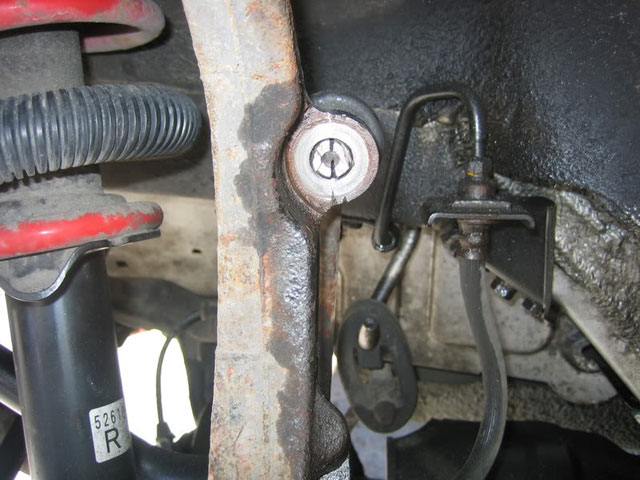
3. My end links were seized (as everyone predicted). Had they not been, I suppose the easiest method would have been to crack the nut with a 17mm socket and a johnson bar, then insert a 5mm allen key into the top slot on the end link stud, and use a regular 17mm monkey wrench on the nut and undo the assembly. However my car is 133000 kms, 6 years (and 6 winters) old, so alas, everything is seized. (good thing I'd been rust-proofing! lol)
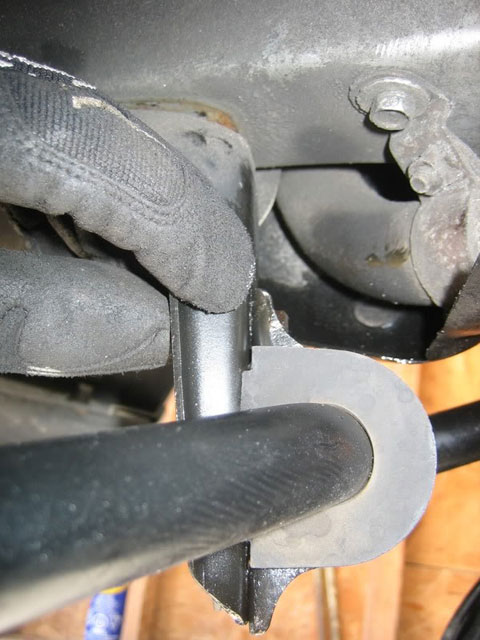
4. Use the dremel (and your safety glasses, haha) and cut two slits at 12' and 6' on the nut. You will find it easier to do if you begin by cutting off the extra threads on the stud first. Get as close as you can to the bottom face of the nut, w/o cutting into the upright arm too much, the LAST thing you want is a crack on that suspension upright. You'll be forced to cut into the stud maybe 2/3 of the way through. The process then becomes;
a. Cut deeper.
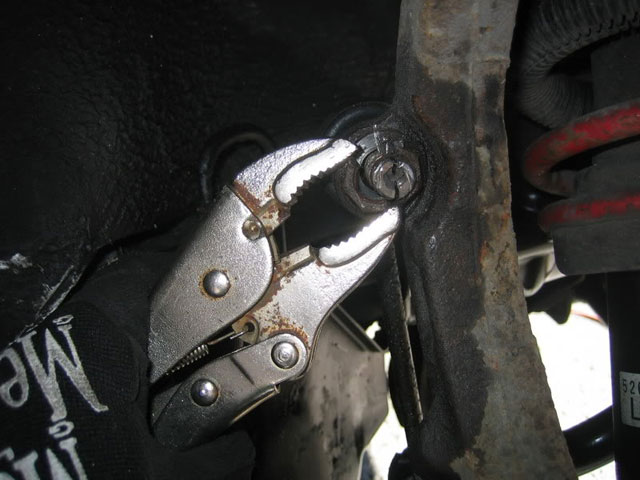
b. Hammer screwdriver in the 'slits' and wedge, pry twist, and hammer on all sorts of angles (focus on the nut, and not the stud)
c. Grab one side of the nut with the vice grips and twist and turn until something moves.
d. Repeat until it looks like so:
(sorry for the lack of pics here, it was pretty messy)
5. Now spray some penetrating lubricant on all for bolts on the 'L' bracket hard mounts, and soak those thangs!
Now's a good time for a break, because all that cutting and hammering took a load of time. Break and remove all 4 bolts (shouldn't be hard), and then maneuver the sway bar outta there. You might want remove the bolts that fasten the bracket to the chassis first, because there wasn't enough clearance to get a ratchet in, especially for the top bolts.
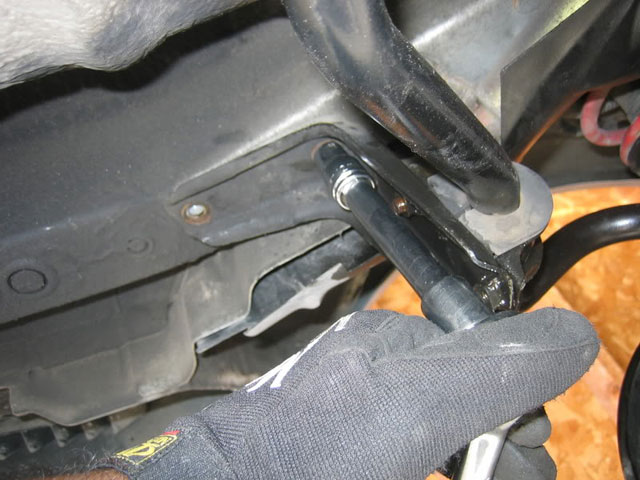
My thigh is pushing on the exhaust here, so I could get that ratchet on there.
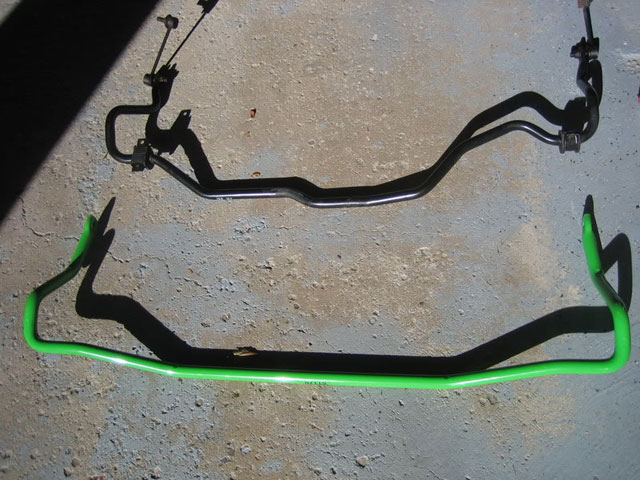
6. Side-by-side comparison (the green ST Suspensions bar was WAY heavier):
Now you're ready to install. Also not many pics here, as I was rushing a little bit. For ease of installation, follow these steps (this is in hindsight; I did them in a different order and it was more time-consuming).
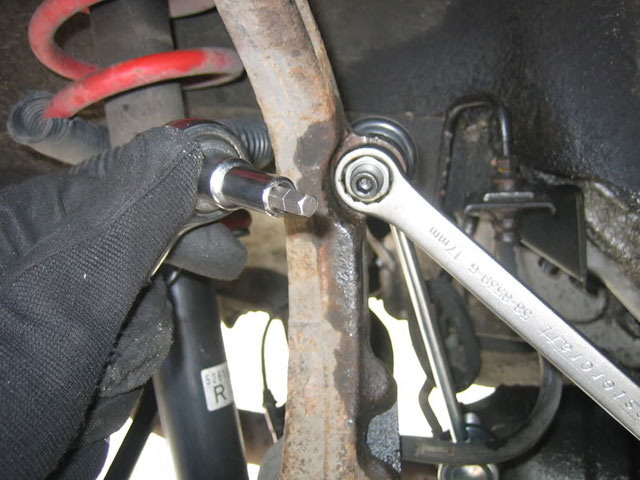
1. Install end links via the upper mount on each suspension arm and torque down as best as possible. I did this by using a 5mm allen key in a ratchet and an open-ended 17mm wrench. I pretty much just gave 'er on these mounts, and whatever the torque came out to be, I couldn't check it because with the torque wrench set to 43 ft. lbs. the entire assembly would spin. I assume it was near 40-50 lbs, since I couldn't get much leverage using the wrench.
2. Swing sway bar into place, and resting the passenger side on the exhaust, and the driver's side on the suspension.
3. Now slide your greased polyurethane bushings onto the sway bar, estimate the locations of where the mounts will be. Be sure to grease the inner and outer surfaces of each bushing, as they will squeak.
4. Use the new mounts and install the "L" bracket onto the sway bar, however just put the bolts in by hand.
5. Raise each L bracket to their respective positions, and do the same with those bolts, however only thread them in a few turns, so as to leave the assembly dangling. If you tighten them too much, you won't be able to torque each bolt down, due to the clearances.
6. Now torque the new bolts (1/2") (that go on the clevis with the bushings) down to 18 ft. lbs. DO NOT over-torque these.
7. Now you can tighten the frame bolts (12mm) the will raise the sway bar into position, again at 18 ft. lbs.
8. Last but not least, throw one of those expensive Honda nuts onto the lower, inner suds on the end link assemblies, and you're done! Again, I couldn't get a ratchet, or torque wrench in there, so I just used the box-end of the monkey wrench and gave 'er.
Rock n' roll, you're done. Now go take some hard turns (not on public roads!) and maybe you'll notice a difference!
=D
Get your own Suspension Techniques sway bar from our store!
(NOTE: Color may vary, ST bars come in either gunmetal or green).
--- This how to courtesy of Kris aka Kri$han ---
Originally from Toronto Prelude Club.
|
Store
Engine
Exhaust

Exterior
Interior

Misc.
Suspension

Wheels
|
